

A zipper can look perfectly flat on a sample and still start puckering once the dress is sewn, pressed, or put on a model. From the factory side, this is usually not a problem we solve by changing the zipper alone. We look at what happened to the fabric, seam, pattern, lining, and zipper during production. If you are developing dresses for a fashion brand, boutique, retailer, or private label line, finding the cause before bulk production is much easier than trying to correct it after hundreds of pieces have been sewn.
What Does Dress Zipper Puckering Look Like?
Zipper puckering is usually easy to spot once you know where to look. The zipper tape may form small waves, the fabric beside the zipper can look gathered, or the seam may pull toward the center.
Sometimes the zipper itself is straight, but the fabric on one or both sides is not.
Common signs include:
- Wavy zipper tape
- Small wrinkles beside the zipper
- Fabric pulling toward the zipper
- Uneven seam lines
- A smooth zipper on the table but a puckered zipper when worn
- Puckering that becomes more visible after pressing
- Different tension between the outer fabric and lining
Don’t judge the zipper only while the dress is lying flat. We don’t approve a zipper based only on how the dress looks on the table.
Why Do Dress Zippers Pucker After Sewing?
A zipper can pucker for several reasons, and the cause is not always the zipper itself. As a clothing manufacturer, we usually check the fabric, pattern, fit, and sewing construction together before changing the zipper. We can use the same zipper successfully on one style and still see puckering on another. Usually, the difference is in the fabric, pattern, fit, or sewing construction.
1. The Fabric Has Been Stretched During Sewing
Lightweight and slippery fabrics are more sensitive to handling around a zipper.
Silk satin, polyester satin, chiffon, and stretch fabrics can move slightly as they pass through the machine. If the operator pulls the fabric to keep the seam moving, the fabric can become longer than the zipper tape during sewing.
After the garment is released from the machine, the fabric relaxes. The zipper tape does not necessarily relax in the same way, so the extra fabric shows up as small waves or wrinkles.
2. Thread Tension Is Pulling the Seam
The zipper area can also react to sewing tension.
If the thread tension is too tight, the seam may contract after stitching. On a heavier fabric, this may hardly be noticeable. On a lightweight dress, the same setting can create visible rippling.
We usually run a small fabric test before changing the machine settings. It is easier to see the effect on a fabric panel than after the whole dress has been assembled.
3. The Zipper Tape and Fabric Behave Differently
The zipper tape is relatively stable, while the fabric may move or stretch during sewing. Once the garment is released from the machine, the two parts can recover differently. That is when a zipper that looked straight during sewing starts showing small waves.
The difference is more noticeable on fitted dresses and lightweight fabrics.
For a new style, it is better to test the complete zipper construction with the actual shell fabric rather than approving the zipper separately. A zipper that looks fine on its own tells you very little about how it will behave after installation.
4. The Seam Allowance Changes Along the Zipper
A zipper needs a consistent sewing position.
If the seam allowance becomes wider or narrower as the zipper runs from the waist toward the hem, the fabric can be pulled differently at different points. Even a small change can become visible on a fitted dress.
When checking a sample, look at:
- Zipper position
- Seam allowance
- Stitch line
- Distance from the zipper teeth
- Waist matching
- Left and right side alignment
- Top and bottom finishing
If the zipper is straight at the waist but starts waving lower down, the construction should be checked rather than assuming the zipper itself is defective.
5. The Dress Is Too Tight Around the Zipper Area
Sometimes the zipper is sewn correctly but the garment is putting too much pressure on it.
This often happens around the waist, hip, or upper back of fitted dresses. Once the garment is worn, the fabric is under tension and the zipper area begins to pull.
A flat inspection is not always enough.
If the zipper looks smooth on the table but puckers when the dress is worn, check the garment measurements and fit before changing the zipper construction.
6. The Lining Is Pulling the Outer Fabric
A lining can create problems around a zipper even when the outside construction looks correct.
For example, if the lining is slightly shorter, attached under tension, or not matched properly around the zipper opening, it can pull the outer fabric inward.
This is especially noticeable on dresses with a full lining or fitted bodice.
In this situation, we normally check the shell and lining separately. If the shell lies flat but the lining is pulling, changing the zipper will not solve the problem. The outer layer may be fine while the lining is creating the tension.
7. Pressing Makes the Puckering More Visible
Some zipper problems become obvious only after pressing.
Heat and steam can relax the fabric and change the appearance of the seam. If the fabric was stretched during sewing, pressing can make the problem more visible.
A quick press can sometimes make the zipper look better temporarily. That does not mean the construction has been fixed.
If the puckering comes back after the garment cools, we go back to the sewing and construction rather than treating pressing as the fix.
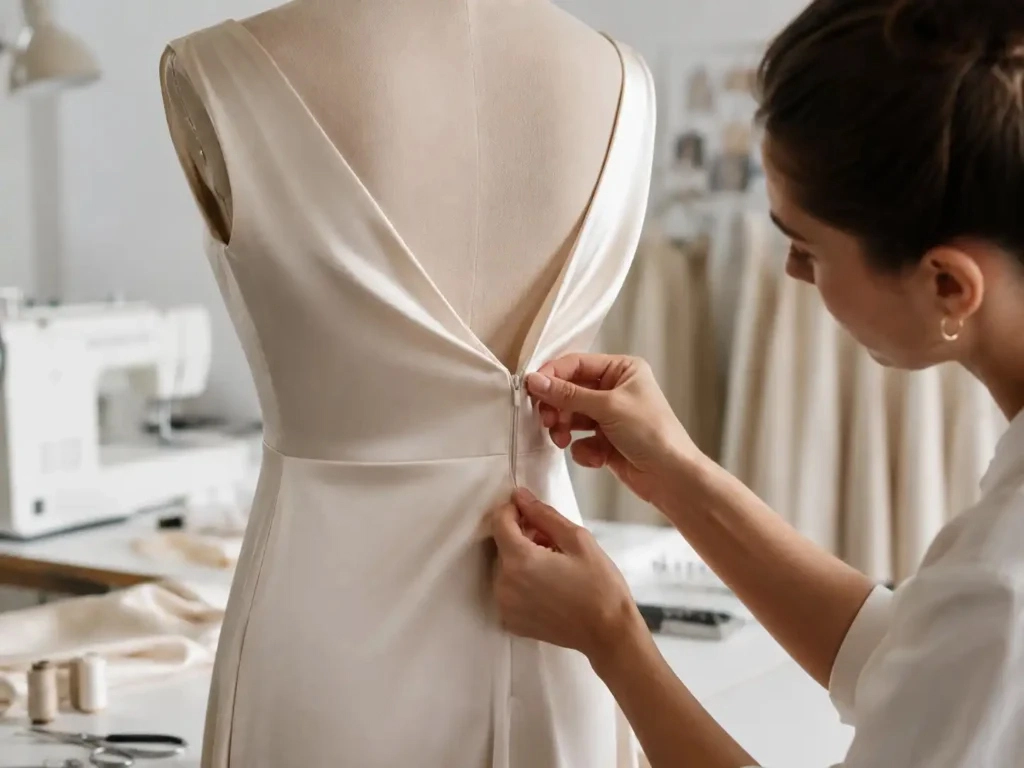
How We Check Zipper Puckering Before Bulk Production
When a zipper starts puckering, we don’t change the zipper straight away as a dress manufacturer. The first step is to find where the fabric or seam starts losing its shape. This keeps us from changing several things at once and gives the sewing team a clear correction to follow in bulk.
1. Check the Zipper Before Sewing
First, lay the zipper flat and check the tape, teeth, and overall stability. If the tape is already wavy before it reaches the sewing machine, there is little point blaming the sewing operation first. The zipper itself needs to be checked.
If the zipper is stable, the next step is to check the fabric and sewing construction instead of changing the zipper immediately.
2. Test the Actual Dress Fabric
Use the fabric intended for production whenever possible.
Check how it behaves when handled, steamed, and sewn. Lightweight satin, silk, chiffon, and stretch fabrics can react very differently from a substitute fabric used during early sampling.
A small fabric test with the actual zipper can often show whether stretching or sewing tension is causing the puckering.
3. Check the Sewing Setup
Next, the sewing operation needs to be checked. Changing several settings at once makes it difficult to tell which adjustment actually solved the problem.
We check:
- Thread tension
- Stitch length
- Presser foot pressure
- Sewing speed
- Fabric feeding
- Zipper positioning
- Seam allowance
- Operator handling
If the fabric is being stretched as it passes through the machine, the zipper may look fine during sewing and start puckering after the fabric relaxes.
4. Compare the Seam Around the Waist and Hip
If the zipper looks smooth in one area but starts waving near the waist or hip, check the pattern and garment measurements.
A fitted dress can put extra pressure on the zipper once it is worn. In that case, changing the zipper may not solve the problem. The pattern, seam allowance, or garment fit may need to be checked first.
5. Check the Lining Separately
For lined dresses, open or separate the lining construction during inspection if necessary.
A lining that is too short or attached under tension can pull the outer fabric toward the zipper. The outside seam may look correctly sewn, but the lining can still create puckering after the garment is assembled.
6. Check the Garment in Its Wearing Position
Put the dress on a suitable mannequin or fit form and compare the zipper again. It can reveal tension around the waist, hip, or back that is not visible when the garment is lying flat.
A zipper that is smooth on the table but pulls when worn points us toward fit or pattern balance before we change the sewing method.
7. Check the Zipper After Pressing
The zipper should also be checked after normal pressing and finishing.
If it looks smooth before pressing but becomes wavy afterward, we check the pressing temperature, steam, and how the fabric was handled during sewing.
A zipper that looks better immediately after pressing is not necessarily fixed. If the puckering returns after the garment cools, the construction still needs attention.
8. Test the Correction Before Bulk Production
Once the likely cause is identified, make a small sewing or construction adjustment and compare it with the approved sample.
We test the correction on a few pieces first, then apply it to the production line once the result is confirmed. It is much easier to control this at the start than to find the same problem after hundreds of dresses are sewn.
9. Inspect the First Bulk Pieces
The approved sample is the reference, but the first bulk pieces still need to be checked.
Compare the zipper flatness, seam alignment, lining, and overall appearance with the approved sample. If the first few pieces show a difference, stop and check the operation before the problem moves through the production line.
Catching the issue in the first few pieces is far easier than correcting several hundred finished dresses later.
Does Fabric Type Affect Zipper Puckering?
Yes. We see different zipper results depending on the fabric. This is one reason we test the actual production fabric during dress manufacturing, rather than approving the zipper separately. A construction that works well on a stable woven fabric may need adjustment for silk satin, chiffon, or stretch material.
Silk and Satin
With silk satin, we pay close attention to the fabric feeding because even a small amount of stretching can show up clearly under light.
If the fabric is stretched slightly during zipper installation, the resulting wave can be much more noticeable than it would be on a matte fabric.
For these fabrics, fabric feeding and seam stability deserve particular attention.
Chiffon
Chiffon is light and flexible, so it can shift during sewing.
The challenge is keeping the zipper area stable without stretching the fabric. A method that works on a more stable woven fabric may need adjustment.
Stretch Fabric
Stretch fabrics can elongate during sewing and recover afterward.
If the fabric is allowed to stretch while the zipper is being attached, the finished seam may pull once the fabric returns to its normal length.
We also check how much the fabric stretches and in which direction before finalizing the zipper construction.
Velvet
Velvet brings another consideration: the pile.
Velvet needs a slightly different check because of the pile. We don’t judge the zipper only by the seam measurement. The seam can be technically straight while one side still looks fuller because the pile reflects light differently. We also check the pile direction and the finished garment under normal lighting and after pressing.
We don’t judge the zipper only by the seam measurement. Check the finished garment under normal lighting and after pressing, when the pile has settled.
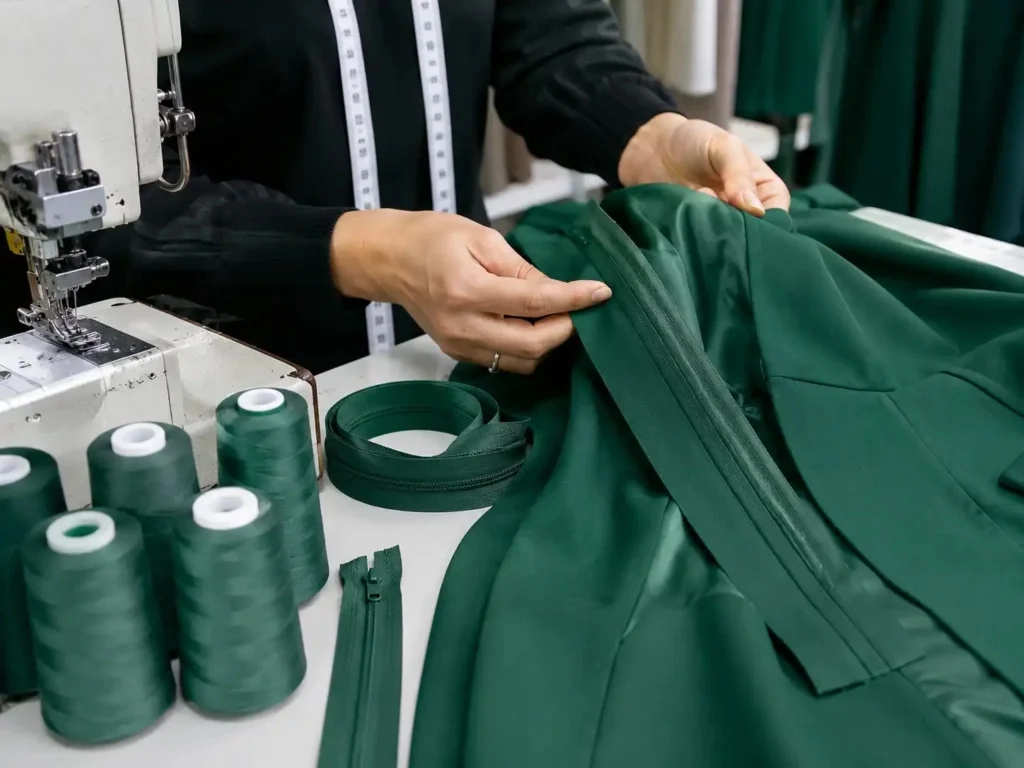
What Should You Check Before Approving a Dress Sample?
Before approving a sample for bulk production, inspect the zipper in both a flat and worn condition.
Check:
- Zipper flatness
- Fabric appearance beside the zipper
- Seam alignment
- Lining behavior
- Waist and hip pressure
- Appearance after pressing
- Zipper operation
- Construction consistency across sizes
If the sample has a small zipper wave that you are already noticing, do not assume it will disappear during bulk production. In most cases, production tends to repeat an existing construction issue rather than correct it by itself.
It is better to record the problem, identify the cause, and approve the corrected construction before bulk cutting begins.
When Should You Replace the Zipper?
Replacing the zipper makes sense when the zipper itself is the problem.
For example, the tape may be unstable, the zipper may be distorted, or its construction may not suit the fabric.
But changing the zipper is not always the right answer.
If the actual cause is fabric stretching, thread tension, pattern pressure, lining tension, or inconsistent sewing, a new zipper may give you the same problem again.
Before changing the zipper, we first find where the puckering starts. That tells us whether the problem is coming from the zipper, fabric, sewing, or fit.
What Should Your Tech Pack Include for a Dress With a Zipper?
A clear tech pack can reduce sample revisions, especially when several people are involved in product development.
For a zipper dress, include:
- Zipper type
- Zipper length
- Zipper position
- Zipper color
- Seam allowance
- Stitching details
- Lining construction
- Top and bottom finishing
- Key measurements
- Close-up construction photos
- Approved sample reference
If the zipper needs to sit completely flat or follow a particular visual line, show that requirement with a close-up image.
A general front-view product photo usually does not provide enough information for a production team to reproduce a small construction detail accurately.
FAQ
1. Why does the zipper look fine on one color but not another?
Different colors can behave differently even when the fabric is technically the same. Dyeing and finishing can slightly change fabric weight, shrinkage, or stability. When one color sews smoothly and another puckers, we compare the fabric lots and test the actual fabric before changing the zipper.
2. Can changing the zipper length affect the finished appearance?
Yes. We have seen this happen when a zipper is shortened or extended without adjusting the pattern. A different zipper length can change seam tension, opening position, and how the fabric hangs around the waist or back. We confirm the zipper length on the approved sample before bulk cutting.
3. Why does the zipper problem appear only near the waist?
The waist area is usually where several things come together, so we check the pattern, seam allowance, waistband, and fabric tension there. If the waist is slightly tight or the seam has too much pressure, the zipper can ripple or pull even when the rest of it looks smooth.
4. Can the same zipper construction be used for every size?
Not always. We normally keep the zipper type the same where possible, but the placement and construction still need to be checked after grading. A zipper that works well on the base size can pull differently on a larger size, especially around the waist and hip.
5. How should you handle a zipper problem found during bulk production?
Stop and check the affected pieces before continuing with the same operation. Compare them with the approved sample first, then check the zipper, seam allowance, fabric tension, and sewing settings. If the cause is confirmed, we adjust the process first and inspect the repaired pieces before restarting production.
Conclusion
A puckered zipper is not always a zipper problem. The fabric, pattern, seam allowance, lining, sewing, and pressing can all affect the final appearance. The best time to catch the issue is during sample development, followed by a check of the first bulk pieces. Fixing the construction at that stage is much easier than reworking hundreds of finished dresses.
If you are preparing a new dress for production, Xiuyu Apparel can help review the zipper construction, fabric, lining, and sewing details before bulk production begins.
Explore Our Clothing Manufacturing Solutions
- OEM Dress Manufacturer
- Corset Dress Manufacturer
- Prom Dress Manufacturer
- Party Dress Manufacturer
- Evening Dress Manufacturer
Get a Clothing Manufacturing Quote Based on Your Design
If you already have a garment design, send us the product photo, tech pack, or reference sample together with your target quantity.
We can review the fabric, lining, construction, trims, workmanship, and finishing requirements and prepare a quotation based on the actual garment rather than a general price range.