

When a mesh dress reaches our pattern department, the first questions are often about the fabric and the areas that need lining. A sketch may show the overall look, but it rarely tells us how far the lining should extend, how much stretch the fabric has or how closely the dress should fit.
Clarifying these points before sampling gives the pattern department a more reliable basis for developing the first sample and reduces the risk of avoidable revisions.
1. Start with Technical Drawings That Explain the Design
A pattern maker needs more than a model photo to develop the first pattern. The technical flats should show the garment’s main proportions and construction, with separate detail views for any areas that are difficult to read from the front or back.
Include front and back technical flats, adding a side view or close-up drawings wherever the construction is not obvious. For a mesh dress, this is particularly important when the design combines sheer panels, fitted sections, gathered sleeves or different lining lengths.
Your drawings should identify:
- Neckline shape and depth
- Strap width, shoulder placement or sleeve construction
- Mesh panel positions and seam lines
- Waist placement and skirt proportions
- Lining boundaries and transparent areas
- Hem shape and finished dress length
- Locations of zippers, gathers or decorative details
Consider a dress with a sheer upper bodice and an opaque skirt. A front illustration might communicate the overall appearance, but it may not show exactly where the lining begins or how the two sections join. Add a close-up showing the exact lining edge and the seam joining the lined and unlined sections.
Reference photos are useful when you are developing a style from an existing garment or visual concept. Mark the features you want to retain and explain any changes.
For example, if you want to keep the sleeve volume but bring the waist in by 2 cm, mark that change on the reference or measurement sheet. The sample team can then check the fit against a specific instruction instead of interpreting a general comment.
You can send the design for an initial review before every detail is settled. Mark confirmed specifications clearly and list open questions separately. For example, the neckline shape may already be approved while the mesh quality and lining length still need to be tested. This allows the team to start reviewing the design without treating every detail as final.
2. Specify the Mesh Fabric and Its Performance
Two mesh fabrics can look similar on a swatch but behave quite differently once cut and sewn. One may stretch easily and return to shape, while another may feel firmer or stay distorted after being pulled. Your tech pack should describe the fabric you want, not simply list “mesh” as the material.
Record as many of the following material details as you have confirmed:
- Fiber composition and fabric weight, if known
- Fabric width and supplier reference
- Stretch direction and approximate stretch
- Recovery after stretching
- Mesh density and intended transparency
- Color reference and surface appearance
- Any required fabric testing or finishing
If you have already selected a fabric, attach a swatch or provide the supplier’s reference number. If the fabric has not been selected, describe how it should look and behave on the body. For a fitted evening dress, you might want mesh that stretches with the body and recovers without leaving the waist or hip area loose. For an overlay panel, a firmer mesh may hold the intended shape better. The final choice should be checked against the design during sampling.
Stretch direction matters when the garment follows the body closely. A mesh that stretches across the width but has limited lengthwise stretch may require a different pattern approach from a material that stretches in both directions.
Recovery also deserves attention. A fabric may stretch easily when pulled but remain distorted afterward. On a fitted dress, that can affect the neckline, waist, hips or sleeve openings.
After sewing, check whether the mesh has stretched out around the neckline, waist or sleeve openings. Look for rippling along the seams and compare the garment with the intended fit. If the fabric is still under evaluation, record it as pending approval in the sample comments.
3. Map Out the Lining and Sheer Areas
On a mesh dress, lining affects both coverage and the finished silhouette. A bodice lined to the neckline will look different from one with a lower lining edge, and a full skirt lining can change how the outer mesh falls. These details should be shown on the drawing rather than left to assumption.
Start by marking the lined and unlined sections directly on your technical drawing. If the bodice is lined but the sleeves remain sheer, show the boundary. If the skirt lining ends above the hem, specify its intended finished length or the distance from a defined reference point.
Your lining notes should cover:
- Lining fabric and color
- Coverage area and finished length
- Whether the lining should stretch with the outer mesh
- Attachment points or construction requirements
- Intended opacity and overall appearance
- Whether a separate slip or inner garment is required
Take black mesh as an example. With black lining underneath, the dress may look more opaque and uniform. With nude lining, the contrast between the covered and sheer areas becomes more visible. Specify the lining color on the tech pack so the sample reflects the look you intend to sell.
Review the mesh and lining together under lighting similar to the conditions in which the dress will be worn or photographed. Check whether the sheer areas, covered sections and color contrast match the approved design.
If your collection includes several colorways, list the lining color for each one. Do not assume that a single lining will produce the same visual effect across every outer fabric color.
Changing the lining after the first sample can alter the dress’s weight, drape and freedom of movement, especially in a fitted style. Review the revised sample for these changes rather than checking appearance alone.
4. Build a Measurement Chart Around the Intended Fit
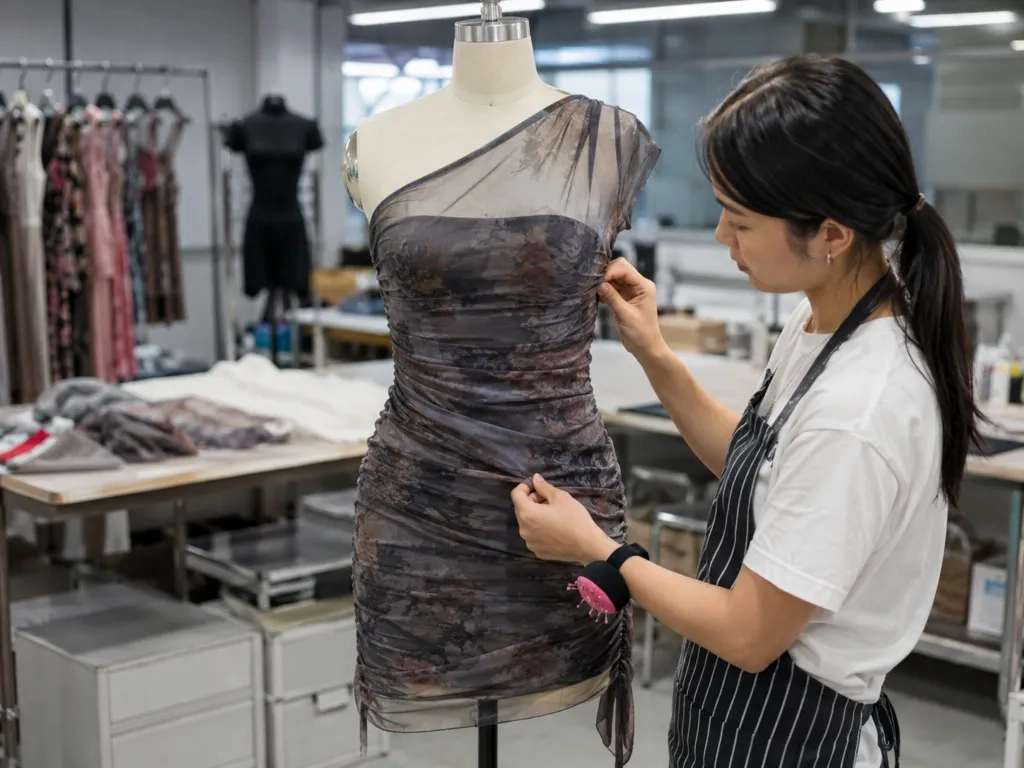
When the first mesh dress sample arrives, the measurement chart gives you a way to check whether the garment matches the agreed specifications. It also helps separate a measurement issue from a fit preference, such as wanting a closer waist or a longer skirt.
The points you include depend on the design, but a mesh dress may require measurements for the bust, waist, hip, shoulder, armhole, sleeve length, cuff opening, garment length and hem width.
| Measurement point | What your specification should clarify |
|---|---|
| Bust | Measurement position and intended fit |
| Waist | Defined waist position and finished measurement |
| Hip | Measurement position and required ease |
| Shoulder or strap | Width and placement |
| Armhole | Measurement method and shape |
| Sleeve length | Starting point and finished endpoint |
| Cuff opening | Finished opening and intended stretch |
| Dress length | Reference point to hem |
| Hem width | Finished width and shape |
This is a working checklist, not a universal size specification. A sleeveless bodycon dress and a loose mesh-overlay dress will not necessarily require the same measurement points.
State the sample size, measurement units and method used. If the chart includes points that may be interpreted differently, add a small diagram showing exactly where each measurement is taken.
For stretch mesh, state how the finished garment should be measured. If the agreed method is to measure the garment laid flat without tension, make that clear on the chart. Otherwise, the buyer and factory may record different measurements simply because the fabric was handled differently.
Set tolerances for the measurements that matter most to the style. Use the approved measurement method and fabric behavior as references instead of copying tolerances from another garment.
If you are developing a size range such as XS–XXL, provide the base-size measurements and grading requirements where available. The pattern department can then develop the initial pattern and confirm how the measurements should change across the remaining sizes.
During sample review, compare the garment against the same measurement chart used for development. If you change the intended fit, update the specification rather than relying on verbal comments alone.
5. Explain the Construction Details That Affect the Finished Dress
Technical drawings show the appearance of your design, but construction notes explain which details the factory needs to reproduce.
You do not need to specify every machine operation in the tech pack. Focus on the details that must match your design, such as a clean neckline finish, the position of the zipper or the amount of ruching along a side seam. The factory can review the sewing method during sampling, but the intended result should be clear from the start.
For a mesh dress, consider documenting:
- Seam type and visible stitch requirements
- Neckline and armhole finishing
- Sleeve and cuff construction
- Hem finish
- Gathered or ruched sections
- Zipper placement and closure details
- Elastic placement where applicable
- Attachment of lining and decorative panels
- Embellishment position and dimensions
For example, if the neckline must have minimal visible stitching, include a reference image and a note explaining the intended finish. If the design includes ruching along the side seam, mark the area and describe the intended appearance.
On lightweight or stretchy mesh, seams may ripple after sewing, and sleeve panels may stretch out of shape. Check these areas on the first sample and confirm that the chosen construction method gives the intended result before bulk production.
Closures require similar attention. If the dress includes a zipper, specify its location, approximate length, color and any relevant finishing details. The sample should show whether the surrounding mesh remains smooth and whether the closure interferes with the intended fit.
If your design includes lace overlays, appliqué or other embellishments, mark their placement and identify the materials where possible. A note such as “add decoration” leaves too much room for interpretation.
The objective is not to make the tech pack unnecessarily complicated. It is to identify the details that cannot safely be left to guesswork.
6. Keep the Bill of Materials and Colorways Consistent
The bill of materials (BOM) should list the components needed for the mesh dress, including the outer mesh, lining, zipper, elastic, labels and any decorative trims. When reviewing the quotation and first sample, use the BOM to check that the listed materials match the approved design.
Where information is available, record the material description, supplier reference, color, quantity or placement, and any required specification. The exact fields will depend on the complexity of the style.
If a fabric or trim has not been selected, mark it as pending confirmation. This is more useful than leaving an unexplained blank because it distinguishes an unfinished decision from a missing document.
For multiple colorways, create a clear color reference for each version. Pantone references can help communicate the intended shade, while physical swatches may be necessary when color matching is particularly important. A screen image alone should not be treated as a guaranteed production color standard.
Also check that the BOM matches the technical drawings. If the drawing shows a lined bodice but the material list does not include lining, the discrepancy should be resolved before sampling.
After sample review, update the master tech pack with any approved changes to materials, colors or construction. Add a revision date or number and make sure the sample room and production team are using the same version before the next sample or bulk production begins.
7. Check These Details Before Sending Your Tech Pack
Before sending the tech pack, cross-check the drawing, measurement chart and BOM. Confirm that every material shown in the design is accounted for and that the measurements match the same design revision.
Use this checklist:
- Front and back technical drawings are included.
- Sheer panels, seams and lining boundaries are marked.
- Fabric specifications or available supplier references are recorded.
- The measurement chart identifies each measurement point.
- Sample size, units and tolerances are stated where required.
- Construction notes cover important finishing details.
- Colorways, trims and labels are identified.
- Unconfirmed items are clearly marked.
- The document has a date or revision number.
- The drawing, BOM and measurement chart do not contradict one another.
You can contact a clothing manufacturer before the tech pack is complete. Send the available sketch or reference images, along with the target quantity, size range and delivery date if known. List unresolved details separately, such as the final mesh quality or lining length, so the initial review can focus on the decisions that still need to be made.
If you have a target cost or delivery date, share it at the beginning. Target quantity, size range and intended market can affect material selection and development decisions. Giving the factory this context makes it easier to assess the design against your commercial requirements.
8. What to Do After the First Sample Arrives
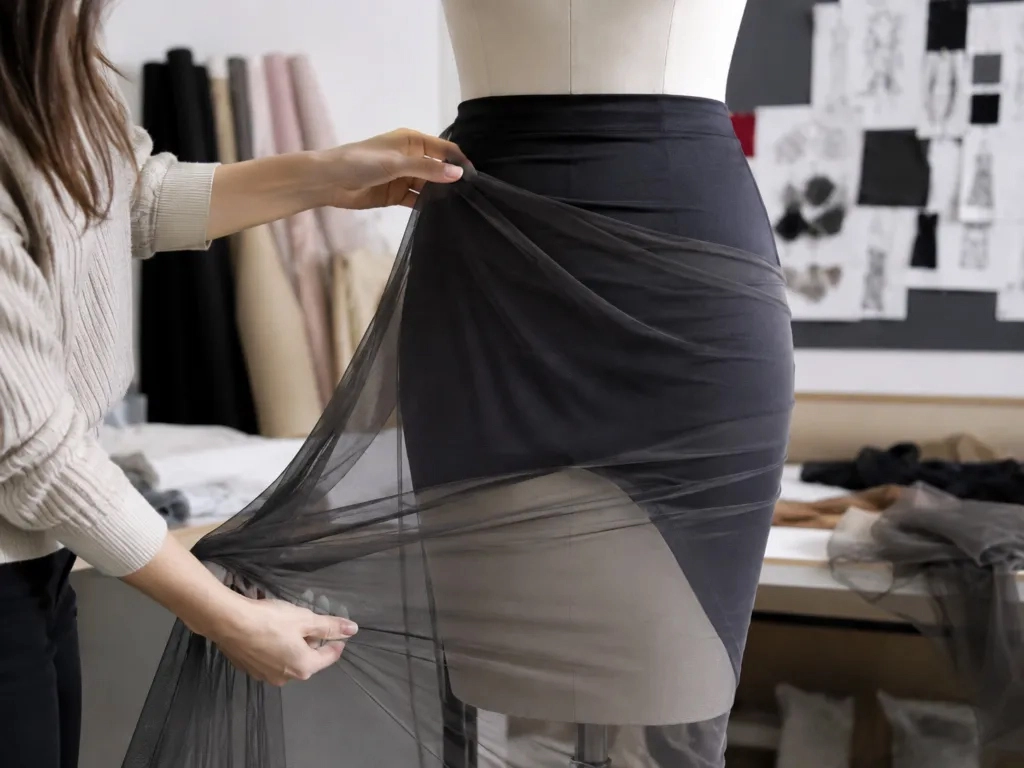
When the first sample arrives, check the mesh recovery, lining position during movement, and the fit of the neckline, waist and hem. Compare the garment with the approved tech pack and record each issue by location. Instead of writing “the dress feels too loose,” specify the affected area and the required correction.
Instead of writing “adjust the fit,” identify the problem area and the requested change. For example: “Reduce the waist by 2 cm,” “shorten the lining by 3 cm,” or “match the neckline curve to the approved drawing.” Add marked photos where the location is difficult to explain in words.
Separate measurement corrections from design changes. A garment that does not meet the agreed measurement is a different issue from a request to change the intended silhouette. Recording the distinction helps the pattern maker determine what needs to be adjusted.
After the comments are agreed, update the relevant drawings, measurements and construction notes. Make sure the revised document is clearly identified so the next sample is developed against the current requirements.
Before bulk production, confirm that the approved pre-production (PP) sample matches the agreed design, materials, construction and finishing. For a mesh dress, check transparency, seam appearance, lining coverage and fit on the garment itself, and record any approved changes in the production reference.
Frequently Asked Questions
1. Can I start developing a mesh dress without knowing the exact fabric?
Yes. You can start with sketches, reference photos or an existing garment, even if the mesh has not been selected. Explain how the dress should fit and which areas need to remain sheer. The manufacturer can suggest materials for sampling, but you should review the sample made with the proposed fabric before approving the final specification.
2. Should I use a separate tech pack for every colorway?
Not necessarily. You can keep shared construction and measurement information in one style document, provided each colorway has a clear material and color reference. If the lining, trims or fabric quality changes between colors, record those differences explicitly rather than assuming the specifications are interchangeable.
3. How can I compare quotations from different clothing manufacturers fairly?
Send each clothing manufacturer the same tech pack, target quantity, size range and material requirements. Check whether the quotations include the same lining, zipper, labels and embellishments. If one factory has quoted a simpler construction or excluded a trim, the lower price may not represent the same finished dress.
4. What should I do if the first sample does not match my design?
Record the differences using specific comments and photographs. Identify whether the issue concerns measurements, construction, material or the intended appearance. Confirm the changes in writing and request an updated sample when necessary. Avoid approving a sample while important fit or material questions remain unresolved.
5. How do I prevent outdated specifications from being used in bulk production?
Keep one master tech pack with a revision date or number, and make sure the factory acknowledges each approved update. The approved PP sample should remain the physical reference for bulk production. If any specification changes after approval, document the change and confirm it with the factory before proceeding.
Conclusion
Before approving a mesh dress for bulk production, make sure the fabric, lining, measurements and construction match the latest approved specifications. Keep unresolved material choices and sample corrections documented so the next development stage starts from the same reference.
If you are preparing a mesh dress collection, share your sketches, reference images, target quantity and any confirmed fabric details with Xiuyu Apparel. Our team can review the available information and discuss the next steps for pattern development, sampling and production.