

A matching set can look right in a sketch and still need several rounds of sample corrections. The top may fit well on its own, while the waistband of the trousers sits too high or the two pieces no longer meet at the intended point. These details are easy to overlook when the garments are developed separately.
Your tech pack needs separate specifications for the top and bottom, plus enough information to show how they fit together. The pattern maker should be able to identify the key measurements, fabric requirements and construction details without having to guess at missing instructions.
1. Define the Design Before Preparing Your Tech Pack
Start by deciding exactly what your matching set includes. A two-piece outfit might combine a cropped blouse with a skirt, a fitted top with wide-leg trousers, or a sleeveless top with matching shorts. Each combination brings different fit and construction requirements.
Before you prepare the technical documents, confirm the basic product details:
- The style name and product code for each garment
- The intended silhouette and fit
- The planned size range and colorways
- Whether the pieces will only be sold together or also offered separately
- Your preferred fabric direction and any existing material references
- The target order quantity and expected delivery window
You do not need to have every detail finalized before contacting a clothing manufacturer. In early development, you may have confirmed the silhouette and overall fit but still be deciding between an elastic waistband and a concealed zipper. Mark that choice as pending in your design notes. This gives the factory something specific to discuss with you before pattern development, rather than leaving the sample room to make the decision on your behalf.
Decide early whether the two pieces must be worn together to achieve the intended look or whether each garment should also work on its own. That decision affects how you evaluate the fit and proportions during sampling.
2. Prepare Separate Technical Drawings for the Top and Bottom
Your tech pack should include clear technical flats for both garments. Front and back views are usually the starting point, with additional views or enlarged details where the construction is not obvious.
A fashion illustration can show the overall look, but it may not make seam positions, closures or finishing details clear. Use technical flats to show these details, then add close-up views wherever the construction cannot be understood from the main drawing.
Depending on your design, the drawings may need to identify:
- Neckline, collar, sleeve and armhole shapes
- Waistband construction, trouser rise and leg shape
- Darts, pleats, gathers, panels and seam positions
- Zippers, buttons, pockets, straps and closures
- Hem finishes, cuffs, facings and binding
- Print, embroidery or embellishment placement
Consider a matching set with a ruched top and a straight skirt. The drawing needs to show where the ruching starts and finishes, while the skirt drawing should make its waistband and closure clear. A single illustration of the model wearing the outfit may communicate the appearance but leave too much room for interpretation during development.
Add callouts wherever the flat drawing leaves room for interpretation. For example, mark the start and end points of ruching, the depth of a neckline, or the position of a concealed zipper. Standard seam details may not need lengthy notes, but a design feature that changes the garment’s appearance should be clear before the first sample is cut.
When sending a reference garment, mark which details should be copied and which should change. For example, you may want to retain the neckline and sleeve shape but shorten the body or widen the skirt. Label these differences on the photos or technical flats so the sample room does not have to interpret the reference on its own.
3. Create a Measurement Chart for Each Piece
A matching set generally needs separate measurement charts for the top and bottom. The two garments may share a design direction, but their fit requirements are different.
For a top, relevant measurements might include bust, shoulder width, body length, sleeve length, armhole and hem width. For trousers or shorts, you may need waist, hip, front rise, back rise, inseam, outseam, thigh and leg opening. A skirt will require its own measurements, including the intended length and any relevant waistband or hip dimensions.
Choose the measurement points according to the garment’s construction. A corset top may need checks at the bust, waist and panel seams, while an oversized shirt needs enough body and shoulder measurements to control its intended volume. For a gathered skirt, record the finished waistband measurement separately from the skirt’s full width.
For each point of measurement, specify:
- The measurement name and location
- How the garment should be measured
- The target measurement for the base size
- The permitted tolerance, where applicable
- The grading rules or confirmed size specifications
Be especially clear about measurements that can be taken in more than one way. Waist width, for example, may be measured across a garment laid flat, while an elasticated waistband may need to be measured both relaxed and stretched. State the measuring condition so the sample team can compare the finished sample with your chart on the same basis.
Include a measurement diagram if the point of measurement could be misunderstood. The numbered points on the diagram should match the chart.
You should also identify the base size used for sample development. If your first sample is intended to be a size S, state that rather than leaving the factory to infer it from a general size range.
Check the Proportion Between the Two Garments
For a cropped top and high-waisted trousers, note the intended gap between the top hem and waistband on the fit comments or reference photos. If the top is shortened by 2 cm, review the set on the fit model before approving the change. The trousers may not need any alteration, but the overall proportion may no longer match the original design.
When reviewing the sample, check both garments in their intended wearing position. This is particularly important when the top is designed to sit close to, overlap or finish just above the waistband.
Do not assume that all measurements should increase by the same amount across sizes. Grading needs to preserve the intended fit and silhouette, and the relationship between the top and bottom should be reviewed across the planned size range.
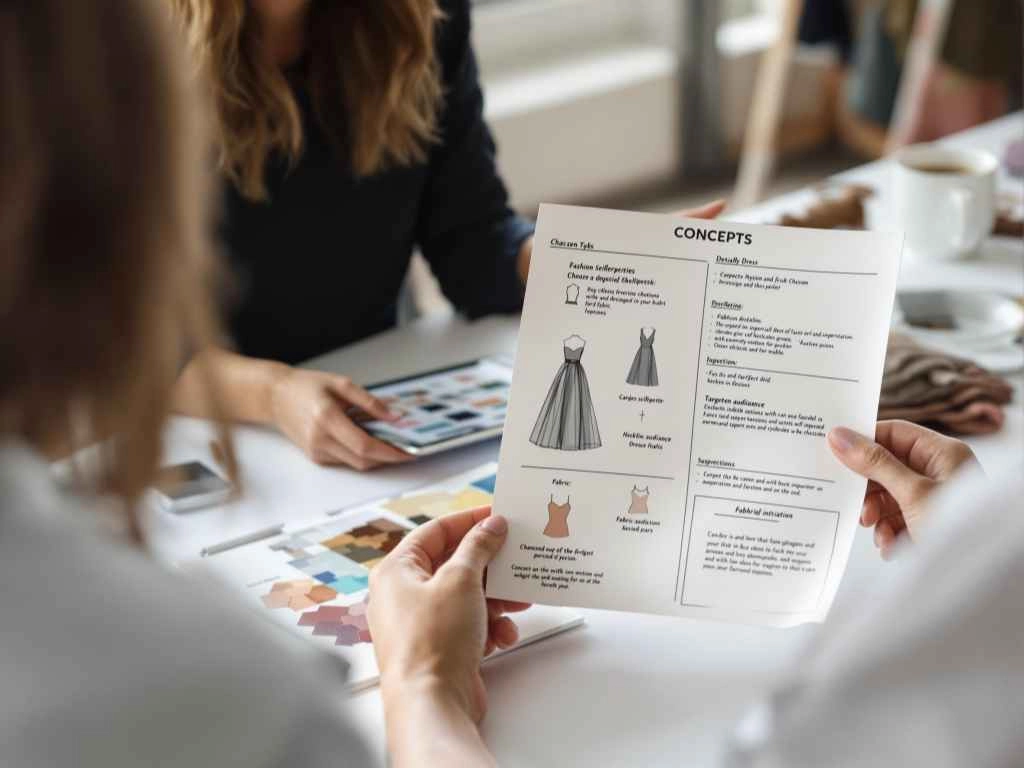
4. Specify Fabric, Color and Material Requirements
Writing “satin,” “jersey” or “crepe” in the tech pack gives the factory a starting point, but it may not provide enough information to select the right material.
Fabric choice affects how the set hangs, stretches and holds its shape. A lightweight woven and a stretch jersey may require different seam settings, while poor recovery can cause a fitted top to lose its shape after wear. If the top and bottom use different fabrics, assess their drape and color together rather than approving each material in isolation.
Where possible, include the fiber composition, fabric weight, stretch direction and recovery requirements. If the fabric has not been selected, provide a reference swatch or garment and explain which characteristics matter most. Your manufacturer can then review suitable options before the material is confirmed for sampling.
Should Both Pieces Use the Same Fabric?
Decide whether fabric matching is a strict requirement or whether the two pieces can use different materials. A fitted top and a structured skirt, for example, may need different levels of stretch to achieve the intended fit.
If the two pieces can use different fabrics, specify what needs to match visually, such as color, sheen or texture. The same color reference may look different on two materials because their fiber content, surface finish and dye response can vary. Review the fabrics side by side before approval, and label each color reference against the correct material and colorway.
You should also consider how the fabric behaves after the relevant finishing or washing process. If shrinkage affects the finished measurements, the development team needs to account for it before the pattern is treated as final.
5. Explain Construction Details That Affect the Finished Garment
Technical drawings show what the garment should look like. Construction notes explain the details that could otherwise be interpreted in different ways.
For a matching set, pay particular attention to the following areas.
Waistbands and closures
Specify whether the bottom uses a fixed waistband, elastic, a drawstring, a zipper or another closure. If the top also has a fitted waist, make sure the intended relationship between the two pieces is clear.
Seams and hems
Identify any special finishing requirements, such as French seams, binding, lining attachment or visible topstitching. If you are flexible about the sewing method, let the factory recommend an appropriate option rather than specifying a technique that may not suit the fabric.
Ruching, gathers and pleats
Show where these details begin and end. If the fullness or placement is important to the design, include a close-up reference or construction note.
Prints and embellishments
Mark artwork placement using clear reference points. For a coordinated set, explain whether a print needs to align across the two garments or whether each piece can be positioned independently.
Labels and trims
Include brand labels, care labels, buttons, zippers, drawcords and other components relevant to the finished product. Add dimensions and placement details when these affect appearance or function.
A crop top with a drawstring hem and matching shorts may use different waist constructions. Specify the cord, channel width and finishing where these affect the look or function. For less visible sewing details, leave room for the factory to recommend a method and confirm it during sample review.
6. Include a Bill of Materials and Keep It Consistent
A Bill of Materials (BOM) lists the materials and components required for the garments. It can be included in the tech pack or maintained as a separate document linked to the same style code.
For a matching set, you may have separate material lists for each piece, plus shared entries for components that are genuinely identical.
| Component | Information to include |
|---|---|
| Main fabric | Composition, weight, color and reference |
| Lining | Material, color and intended use |
| Zippers and buttons | Type, size, color and placement |
| Elastic and drawcords | Width or diameter, material and finish |
| Labels | Artwork, dimensions and placement |
| Packaging | Folding, tags and individual packing requirements |
Mark undecided materials as pending rather than presenting them as confirmed. This allows the factory to identify which details still need approval.
When an approved change affects a component, update the BOM and any related construction notes. For example, replacing a concealed zipper with an elastic waistband may also change the elastic specification, waistband measurements and sewing instructions. For multiple colorways, list shared components once where practical and identify any color-specific materials separately.
7. Record Fit Comments and Sample Revisions Clearly
A tech pack should communicate the intended fit, but the first sample is often where you discover which details need adjustment.
If you have a reference garment, explain what you like about it and what you want to change. You may want the fit of a particular skirt but a higher rise, a wider leg or a different waistband. Clear comparisons are more useful than a general instruction to make the garment look similar.
During fitting, check each garment against its measurement chart first. Then assess the set on the fit model: does the top stay at the intended length when the wearer moves, does the waistband sit where planned, and does the fabric pull or bunch where the two pieces meet? Record any outfit-level issue separately from a measurement correction on an individual garment.
Write fit comments against specific measurement points and state the requested change. Instead of “make the top shorter,” record “reduce HPS-to-hem length by 2 cm,” provided HPS is defined in the measurement chart.
Keep garment-level corrections and outfit-level comments separate in the fitting report. A body-length adjustment belongs in the top’s measurement comments; any resulting change to the intended gap between the pieces should be recorded as a separate approval point.
Keep the comments tied to the correct sample version and record which changes have been approved. This gives both sides a clear reference when the next sample is reviewed.
8. Control File Versions Before Sending the Tech Pack
After a fit correction, check the measurement chart, technical flat and BOM together. A revised body length on the chart is not enough if the technical flat still shows the old shape or the BOM refers to a trim that has been replaced. Update the affected files before sending the next revision to the factory.
Use a consistent style code and revision number across the top, bottom and shared material documents. If a change affects only one garment, record that clearly; if it changes how the set fits together, review both pieces before issuing the next revision.
Use a naming system that identifies the style, document and revision. For example:
MS101_Top_TechPack_V1MS101_Bottom_TechPack_V1MS101_BOM_V1MS101_FitComments_V2
The exact format is less important than being able to identify the current version quickly.
You should also distinguish between a proposed change and an approved one. A fitting comment does not automatically mean the change has been accepted for the next sample.
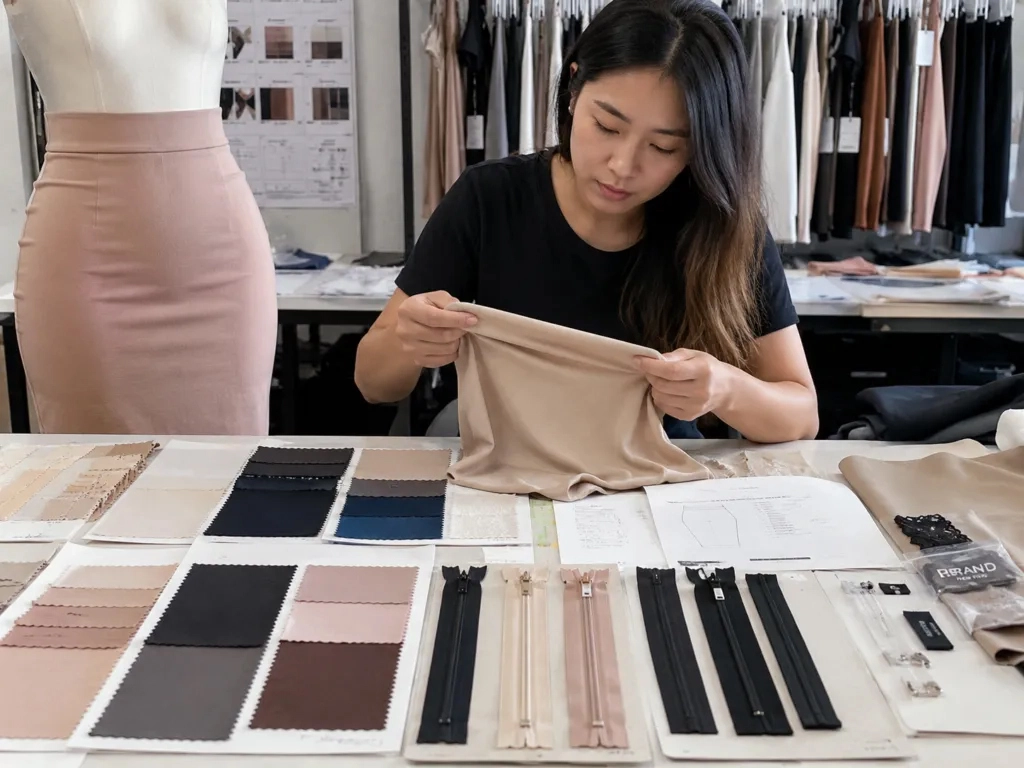
9. Review the Tech Pack Before Sampling
Before sending your files, check whether another person could understand the product without relying on assumptions.
Use this checklist:
Both garments have clearly labeled technical drawings.
Each piece has its own measurement chart and base size.
Important construction details are marked.
Fabric, lining and trim information is included where known.
Color references and artwork placements are clear.
The BOM matches the current design.
Reference photos, garments and swatches are labeled.
Unconfirmed decisions are identified.
The latest revision is easy to recognize.
The target quantity, size range and expected delivery window are provided.
If some details are still undecided, add a short list to the email or development brief. Separate confirmed specifications from questions for the factory and items that require your approval before sampling. For example, the factory may be able to suggest suitable fabrics, while the final color or waistband design still needs your sign-off.
10. What Happens After the Tech Pack Is Submitted?
The development team first checks whether the measurements, construction notes and material choices are sufficient to start pattern development. If the fabric or waistband design is still undecided, those points should be resolved or clearly marked before the first sample is made.
The amount of sample work depends on the design. A straightforward woven set may need only fit adjustments, while a stretch style with extensive ruching or custom trims may require additional checks on fabric recovery, seam performance or trim placement. Record the fit comments against the sample version and carry approved changes into the next revision.
Before approving the sample, check both garments individually and as a complete outfit. Confirm that the fit, measurements, construction, fabric and color meet the agreed requirements.
Before bulk production starts, make sure the approved PP sample matches the latest measurement chart, construction notes and material approvals. The sample is the physical reference; the documents record the specifications that the cutting, sewing and QC teams need to follow.
You should also confirm when the production schedule begins and which decisions must be finalized first. Material availability, custom dyeing and outstanding revisions can affect the timeline, so these points should be discussed before bulk production is planned.
FAQs
1. Can you start developing a matching set without a complete tech pack?
Yes. You can start with a sketch, reference garment or preliminary measurements. To avoid delays, tell the factory which details are fixed and which are still open. The first review can then identify missing information before pattern development begins, rather than leaving unresolved choices to be discovered during sample fitting.
2. Should you develop the top and bottom at the same time?
If the pieces are designed as one outfit, plan their sample reviews together even though each garment needs its own pattern and measurement chart. This is especially useful when the top overlaps the waistband, when a cropped hem is designed to reveal a specific amount of skin, or when the two fabrics need to look coordinated under the same lighting.
3. What if your preferred fabric is unavailable?
Ask the factory to propose alternatives with similar weight, drape, stretch and appearance. Do not approve a substitute based on its fabric name alone. Review the proposed material and, where necessary, evaluate a sample before confirming that it is suitable for your design.
4. Can the factory help refine your design during development?
Yes. Share your sketches, reference garments and priorities, then ask the development team to review construction options, fit risks and suitable materials. For example, the factory may suggest a different seam finish for a delicate fabric, but any change to the approved silhouette, color or key design feature should be agreed with you first.
5. What should you confirm before approving a matching set for bulk production?
Before releasing the bulk order, confirm that the approved pre-production samples and current specifications match. Check any outstanding fit corrections, fabric substitutions, color approvals and trim changes, and make sure the factory is working from the latest approved revision for both garments.
Conclusion
Before you send a matching set for sampling, check that the top and bottom specs agree on measurements, fabric references and the intended fit when worn together. Mark any undecided details so they can be reviewed before the sample is made.
If you already have a sketch, reference garment or draft tech pack, you can send it to Xiuyu Apparel for a discussion about fabric selection, construction and sample development.