

When a bodycon dress reaches the factory, the basic silhouette is usually not the difficult part. Fit is where more questions tend to come up: how much the fabric stretches, how the dress should sit on the body, where the seams fall, and whether the lining moves with the outer fabric. A useful tech pack gives the factory enough information to develop the pattern and sample without having to guess at those decisions.
What Makes a Bodycon Dress Tech Pack Different?
A bodycon dress leaves less room for production assumptions than a loose-fitting style.
On a relaxed dress, a small difference at the waist or hip may not change the overall look very much. On a fitted dress, a few centimeters can change where the dress sits on the body.
Fabric is part of that equation. A stretch jersey and a stretch crepe may have similar fiber content but behave quite differently during fitting. Stretch, recovery, fabric weight and construction can all change the pattern and the finished fit.
When we review a bodycon style for sampling, we therefore look at the design and the proposed fabric together. A measurement chart that looks fine on paper may still need adjustment once the fabric is used in the sample.
Start With the Technical Drawing
A fashion illustration is useful for showing the overall look, but it is rarely enough for pattern development.
Your bodycon dress tech pack should include clear technical views, preferably front and back. Add a side view when the construction cannot be understood from the main drawings.
Show details such as:
- Neckline shape
- Armhole
- Shoulder line
- Princess or panel seams
- Side seams
- Center-back seam
- Zipper position
- Cut-outs
- Slits
- Sleeve construction
- Hem shape
If a seam changes the shape of the dress, show it.
For example, a curved panel line running from the bust toward the hip is not simply a decorative line. It can affect the pattern pieces, sewing sequence and final fit.
Written notes are useful when the drawing cannot explain the construction clearly.
Give the Factory a Clear Measurement Base
For a bodycon dress, the measurement section is one of the most important parts of the tech pack.
At minimum, include the measurements that control the main silhouette:
- Bust
- Waist
- Hip
- Shoulder
- Across chest
- Armhole
- Sleeve length
- Center-front length
- Center-back length
- Hem
- Neck opening
You may need additional points for a more complicated design.
A low-back dress, for example, may need specific back-opening measurements. A dress with a shaped waist seam may need measurements for the position of that seam rather than only total garment length.
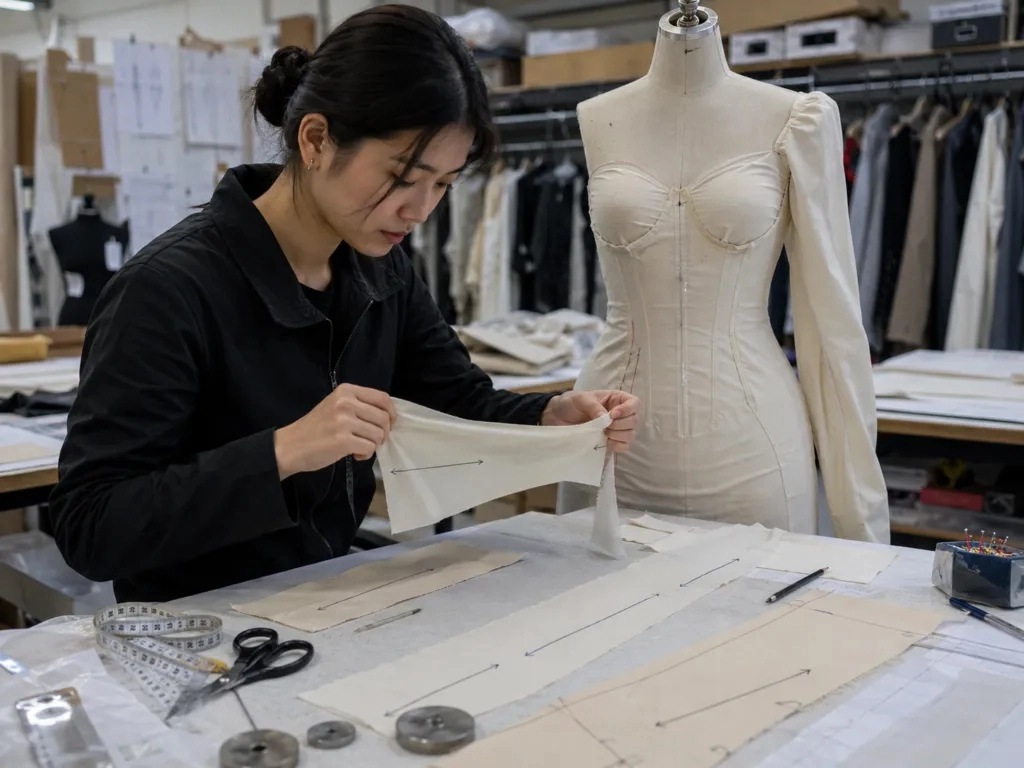
Use Finished Garment Measurements
Body measurements tell the factory about the person wearing the garment.
Finished garment measurements tell the factory what you expect the product to measure.
For a fitted dress, the second one is particularly useful.
You can also provide the body size chart if your brand has one. The two sets of information work together:
Body measurements → target wearer
Finished measurements → target garment
This is particularly important when negative ease is built into the style.
Explain the Intended Fit
Do not assume that “bodycon” gives the pattern maker all the information needed.
Describe the intended fit as specifically as possible:
- Close fit
- Body-skimming fit
- Very fitted silhouette
- Compression-like fit
- Fitted through bust and waist with more ease at the hip
These descriptions do not replace the measurements. They give the pattern maker some context when checking the fit.
If you have a reference garment that already has the fit you want, include it.
A physical reference can answer questions that are difficult to settle from numbers alone, particularly around how tightly the fabric should sit on the body.
Pay Close Attention to Fabric Stretch
For a bodycon dress, writing “stretch fabric” in the tech pack is usually not enough.
Where possible, provide:
- Fiber composition
- Fabric construction
- GSM or weight
- Usable width
- Stretch direction
- Approximate stretch percentage
- Recovery
- Color
- Finish
- Fabric reference or code
Stretch percentage is useful, but recovery is just as important.
A fabric may stretch considerably when pulled but fail to return to its original size properly. That can lead to a dress that looks correct when first fitted but becomes loose around the waist, bust or hip after wear.
Stretch Direction Matters
You should also tell the factory whether the fabric stretches:
- Across the width
- Along the length
- In both directions
A four-way stretch fabric will behave differently in pattern development from a fabric that only stretches across the width.
Pay particular attention to this on styles with:
- Very close fit
- Long sleeves
- Narrow armholes
- Cut-outs
- Strong waist shaping
- Pull-on construction
If you already have the intended fabric, sending a swatch is often more useful than relying on the fabric name alone.
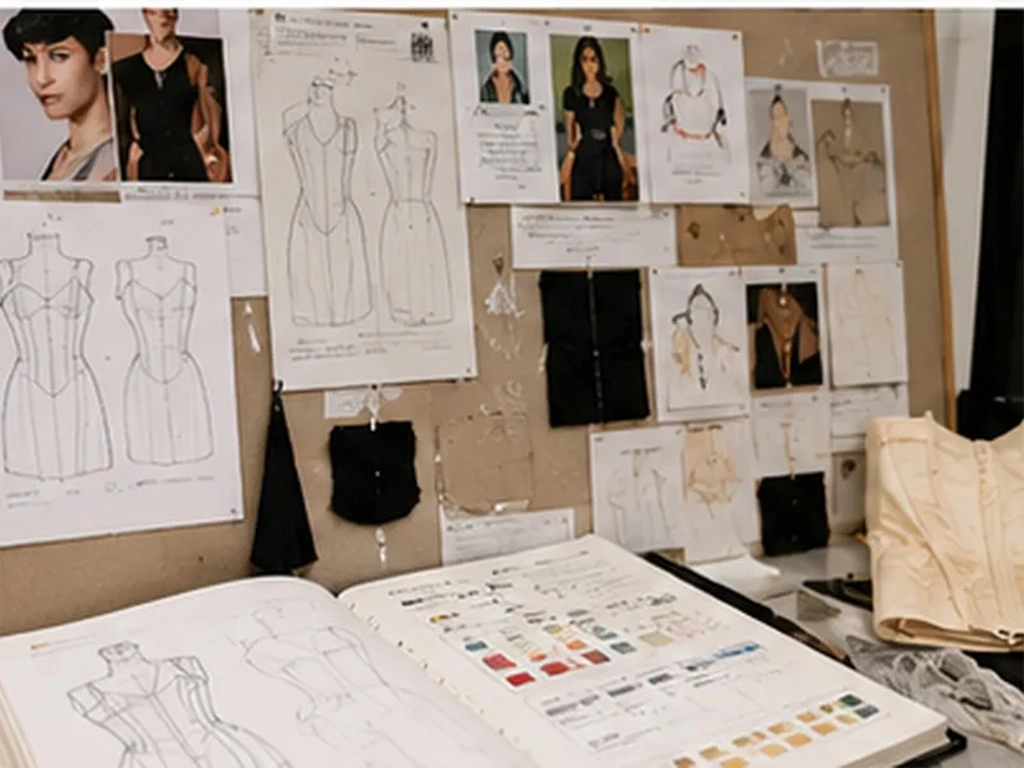
Think About Negative Ease
Negative ease is common in fitted stretch dresses.
The finished garment can measure smaller than the body measurement because the fabric is expected to stretch when the dress is worn. We would not set the amount from a single formula.
Fabric stretch and recovery, the area of the body being fitted, the construction, the closure and the intended fit all affect the result.
A pull-on bodycon dress may need a different approach from a fitted style with an invisible zipper. If you simply tell the factory to “make it tight,” there is still too much left open to interpretation.
Use the measurement chart, fabric specifications and a reference garment together when you can. That gives the pattern maker a much clearer target.
Specify the Construction Details
Once the silhouette and fit are clear, the pattern and sewing teams also need the construction details.
Your tech pack can specify:
Seams and Panels
Identify important seam positions and panel divisions.
This is particularly useful for:
- Princess seams
- Contoured side panels
- Waist seams
- Center-front seams
- Center-back seams
Closures
State whether the dress uses:
- Invisible zipper
- Exposed zipper
- Hook and eye
- Buttons
- Snap closure
- Pull-on construction
Include the approximate zipper length or closure position when it has already been decided.
Neckline and Armhole Finishing
A neckline may use a facing, binding, elastic or another finishing method.
You may need:
- Facing
- Binding
- Self-fabric finish
- Elastic
- Clean turned finish
If the finish affects the appearance or stretch of the garment, it belongs in the tech pack.
Hem
The hem treatment should also be clear when it matters to the final appearance.
For example:
- Turned hem
- Twin needle
- Coverstitch
- Blind hem
The most suitable method can depend on the fabric, so this is also an area where factory feedback can be useful during development.
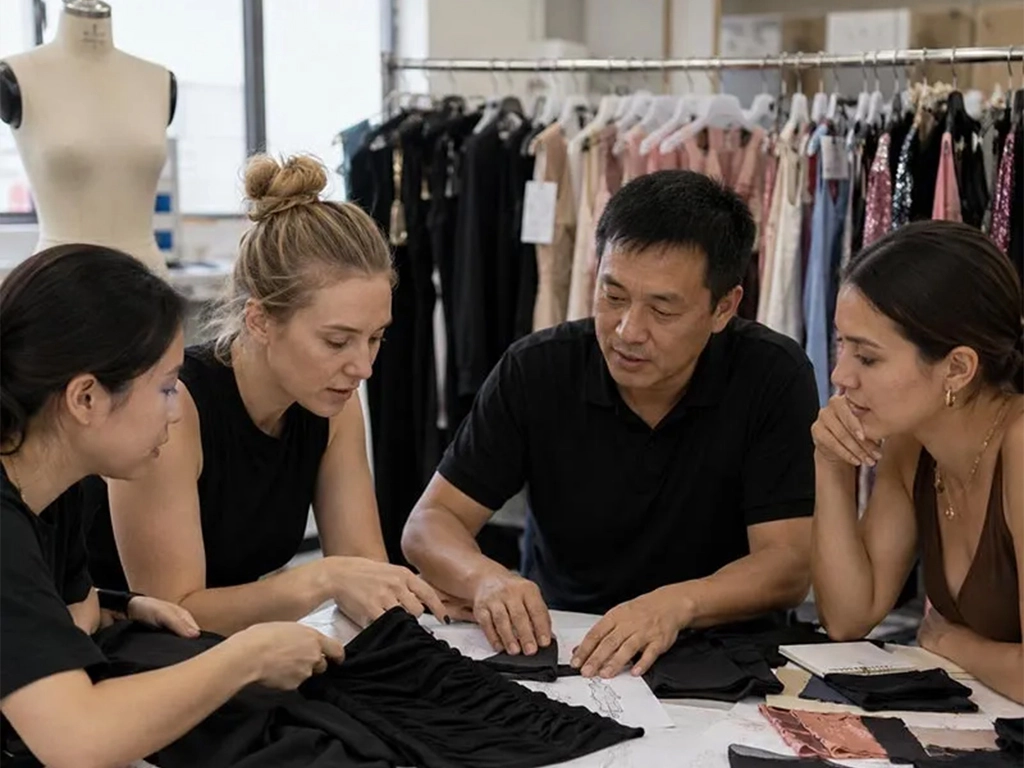
Do Not Forget the Lining
Lining is easy to overlook when a dress looks simple.
For a fitted stretch dress, the lining has to work with the outer fabric.
If the outer fabric stretches but the lining does not, the lining can restrict the garment and change the fit.
Your tech pack should therefore identify:
- Whether the dress is lined
- Lining composition
- Lining stretch
- Lining color
- Lining coverage
- Where the lining is attached
For some styles, a partial lining may be preferable to a full lining. That choice can change how the dress stretches, feels on the body and is handled during sewing.
Add Trims and Other Components
Your BOM can sit inside the tech pack or be maintained as a separate production document.
For a bodycon dress, it may include:
- Main fabric
- Lining
- Zipper
- Hook and eye
- Elastic
- Thread
- Labels
- Hangtags
- Bra cups
- Padding
- Decorative trims
Check the BOM against the tech pack before sampling.
If the tech pack shows a zipper but the BOM does not list one, or the BOM specifies a non-stretch lining for a highly fitted stretch dress, the documents are giving different instructions.
That is when problems start during sampling.
Include Color and Artwork Information
If the dress is a solid color, provide a Pantone reference, approved fabric swatch or another clear color reference when available.
For printed or decorated bodycon styles, give the factory more than a general image.
Specify:
- Artwork size
- Placement
- Repeat
- Direction
- Distance from fixed points
- Color references
For example, “logo at center front” may still leave questions about its exact position.
Give the placement from the neckline or another fixed point so it can be checked on the sample.
For embroidery, appliqué, beading, rhinestones and other surface treatments, specify the size, placement and reference point in the same way.
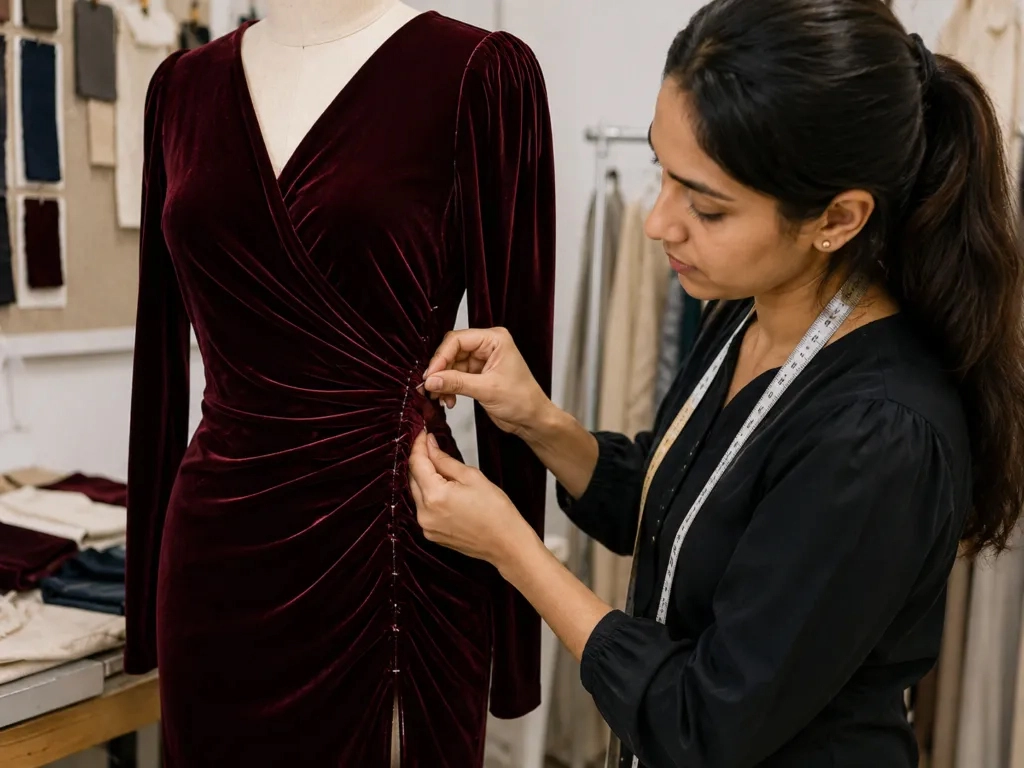
Set the Size Range and Base Size
Before sampling, identify the size you want the first sample made in.
For example:
Base size: S
Production range: XS–XXL
If your brand uses its own size chart, provide it.
Do not assume that a factory should use a generic S/M/L standard without confirmation. Different brands can use different body measurements for the same labeled size.
For bodycon dresses, pay particular attention to how the size chart changes across:
- Bust
- Waist
- Hip
- Shoulder
- Armhole
- Sleeve
- Length
If you already have grading rules, include them. If not, the grading approach can be discussed during pattern development.
What If Your Tech Pack Is Not Complete?
This is common, especially for startup brands and new collections.
You may have a finished sketch but still be deciding on the lining. You may know the desired fit but not have a final fabric. Or you may have an existing garment but no formal measurement chart.
That does not automatically mean you need to stop the project.
Send the information you have and clearly mark what is still open.
For example:
Main fabric: stretch crepe, final composition to be confirmed
Lining: required, fabric under development
Back zipper: invisible zipper, final length to be confirmed
Blank fields leave room for assumptions during sampling.
When we receive incomplete development information, the first step is to separate the confirmed specifications from the open points.
For example, the sketch may be approved while the lining fabric is still being selected. The zipper type may be clear, but the final length may not be decided yet.
Those items can be marked as open rather than left blank.
This gives the pattern maker a clear list of what can be developed now and what needs confirmation before the sample is finalized.
Common Mistakes in a Bodycon Dress Tech Pack
Only Sending a Fashion Sketch
A sketch can communicate the look, but it may not show the seam construction, measurements or finishing.
If a detail affects the pattern or sewing process, show it separately.
Describing the Fabric Too Generally
“Stretch jersey” does not tell the factory enough about stretch, recovery, weight or construction.
Send a fabric swatch with the basic fabric specifications whenever possible.
Giving Only the Body Size Chart
A body chart does not tell the factory what the finished dress should measure.
Add finished garment measurements for the base size.
Assuming All Stretch Fabrics Behave the Same
Changing the fabric can change the pattern, ease, recovery and construction.
If the material changes after the first sample, review the fit rather than simply replacing the fabric.
Updating the Sample but Not the Tech Pack
This is a common source of confusion.
Suppose the first sample is shortened by 2 cm and the waist is reduced by 1 cm during fitting. If those changes only exist in an email or comment sheet, someone may later refer back to the old specification.
Once a change is approved, update the relevant production information.
What Happens After the Tech Pack Reaches the Factory?
From there, the development normally moves through several stages:
Tech Pack Review → Pattern Development → First Sample → Fit Correction → Revised Sample → PP Sample → Bulk Production
Tech Pack Review
The factory checks whether the information is sufficient to begin development.
Questions may come up around:
- Fabric
- Stretch
- Measurements
- Construction
- Lining
- Trims
- Size requirements
Resolve these questions before pattern development where possible. Finding them after the first sample usually means another round of correction.
Pattern Development
The pattern maker converts the design information into pattern pieces.
For a bodycon dress, the fabric behavior and intended fit are considered at this stage.
The pattern has to be developed around the fabric you are actually using.
First Sample
The first sample shows whether the design works once it has been made into a garment.
Check more than the overall appearance.
Look at:
- Bust fit
- Waist fit
- Hip fit
- Length
- Neckline
- Armhole
- Seam position
- Fabric recovery
- Lining
- Closure
- Hem
- Overall balance
Fit Correction
Some changes only become obvious on the body.
If the hip is too tight, the armhole pulls, or the neckline sits differently from the sketch, mark the issue clearly.
A fitting photo with measurements or marked areas is usually more useful than a general comment such as “please improve the fit.”
PP Sample
After the main fit and construction have been approved, the PP sample can become the reference for bulk production.
At this point, the physical sample, measurement specification and production notes should all describe the same garment.
What Should You Send Along With the Tech Pack?
A tech pack is more useful when the supporting information is consistent with it.
Depending on the stage of development, you may also send:
- Physical reference garment
- Fabric swatch
- Trim sample
- Color standard
- Reference photographs
- Existing size chart
- Target quantity
- Packaging requirements
- Label requirements
- Artwork files
For a private label project, brand labels, care labels, hangtags and packaging instructions can also be prepared during development.
If you are developing several dresses at the same time, keep each style separated by style number. Do not assume that fabric, lining or construction information from one style applies to another.

A Simple Bodycon Dress Tech Pack Checklist
Before sending your tech pack to a factory, check the following:
| Area | What to Confirm |
|---|---|
| Technical drawing | Front and back construction are clear |
| Measurements | Finished measurements are provided |
| Base size | Sample size is identified |
| Size range | Production sizes are confirmed |
| Fit | Intended fit is explained |
| Fabric | Composition and weight are known |
| Stretch | Direction, amount and recovery are addressed |
| Lining | Type and stretch are specified |
| Construction | Important seams and finishes are shown |
| Closure | Zipper or other closure is identified |
| Trims | Required components are listed |
| Color | Reference or swatch is available |
| Artwork | Size and placement are clear |
| Version | Current specification is clearly identified |
You do not need a complicated document just because it is called a tech pack.
The goal is not to make the tech pack longer. A six-page file with complete measurements, fabric information and construction notes can give the factory more usable information than a longer file with missing specifications.
FAQ
Can you ask a factory to help complete a bodycon dress tech pack?
A complete tech pack is not always necessary for the first conversation. If the design is still being developed, you can start with the sketch, reference garment, fabric idea, measurements and other information already available.
Should you choose the fabric before creating the pattern?
The intended fabric should be known before the pattern is finalized because stretch, weight and recovery affect the fit. If the fabric is not finalized, provide the closest available option or swatch and make it clear that the material is still under development.
What if your bodycon dress needs different fabrics for different colorways?
Different colorways are not always identical in fabric performance. If they come from different suppliers or use different compositions, compare their stretch, weight and recovery before bulk production.
Can you use an existing bodycon dress as the reference instead of a complete tech pack?
An existing bodycon dress can be a useful reference for proportions, construction and finishing, particularly when the fit is difficult to explain with measurements alone. However, it should be accompanied by whatever specifications you already know, especially fabric information, size requirements and any changes you want the factory to make.
When should you lock the tech pack before bulk production?
The production specification should be finalized after the fit, fabric and construction have been approved and before bulk cutting begins. If changes are made after approval, record them in the current version and make sure the approved sample reflects the same changes.
Conclusion
A bodycon dress tech pack does not need to contain every possible production detail. It needs to remove the important areas of uncertainty: fit, finished measurements, fabric stretch, recovery, construction, lining and components. Give the factory a clear starting point, identify anything still under development, and update the specifications when sample corrections are approved. Before bulk cutting, the tech pack, approved sample and production specifications should all describe the same garment. If one document is still showing an old measurement or construction detail, that is where avoidable production problems can start.
Related Dress Manufacturing Services
If your project involves a specific dress fabric or construction, you can also review our related manufacturing pages:
- Chiffon Dress Manufacturer
- Party Dress Manufacturer
- Halter Dress Manufacturer
- Velvet Dress Manufacturer
- Bodycon Dress Manufacturer
Get a Quote for an Existing Dress Style
If you are transferring an existing dress style to a new manufacturer, send us the latest approved sample, tech pack, product photos, or measurement chart together with your target quantity.
As a dress manufacturer, we can review the construction, fabric, trims, measurements, and current production status with you before confirming the sampling requirements.