

When a new dress project reaches our pattern department, we first check whether the information is sufficient to begin pattern development. Reference photos help us understand the overall design, but they rarely show everything we need. We may still need to confirm finished measurements, lining coverage or how certain sections should be constructed.
1. Start with Clear Front and Back Technical Drawings
Your dress tech pack should include front and back technical drawings. For pattern development, we rely more on technical flats than fashion illustrations. The front and back views let us check the garment shape, seams and construction details without having to interpret model poses or styling.
A front view may show the neckline, waistline and skirt shape, while the back view reveals details such as zipper placement, back neckline depth, straps and panel construction. Both views matter, particularly when the dress has an open back, an asymmetric design or a fitted bodice.
Your drawings should make the following details easy to identify:
- Neckline shape and depth
- Strap width and placement
- Sleeve shape and armhole position
- Waistline and seam placement
- Dart and panel construction
- Skirt silhouette and volume
- Slit position and length
- Zipper, button and closure placement
- Hem shape and finishing
You do not need to draw every sewing detail into the main technical flat. Use close-up drawings for areas that could be misunderstood.
Take a dress with a draped neckline as an example. The front flat can show the shape of the drape, but the pattern maker may still need to know where the fabric is gathered and how it is secured to the bodice. Add a close-up view to show these points, especially if the draping is a key part of the design.
Some buyers send us several reference photos to develop one dress. They may prefer the neckline from one garment, the sleeves from another and the skirt proportions from a third. When doing this, mark each reference with the feature you want to use. Otherwise, our pattern maker has to decide which details to follow, and the result may not match your original idea.
2. Provide Measurements That Match Your Intended Fit
Before developing the pattern, our team needs to know the intended garment measurements. Descriptions such as fitted, relaxed or oversized are useful for understanding the look, but they do not tell the pattern maker how much room to allow around the bust, waist and hips.
For a new dress style, provide finished garment measurements for your intended sample size. If you already have a size chart, include the grading information for the other sizes as well.
Common dress measurement points include:
| Measurement | Details to Clarify |
|---|---|
| Bust | Finished circumference and measurement position |
| Waist | Finished circumference and waistline position |
| Hip | Finished circumference and measurement level |
| Shoulder Width | Shoulder point to shoulder point |
| Armhole | Measurement method and finished size |
| Sleeve Length | Starting point and endpoint |
| Cuff Opening | Finished opening measurement |
| Dress Length | Starting reference point and hem |
| Hem Width | Finished width or circumference |
The measurement chart should reflect the style being developed. For a sleeveless mini dress, shoulder and sleeve measurements may be less relevant, while a fitted maxi dress with long sleeves needs closer attention to the armhole, sleeve length, bust, waist and hip. The measurement points should follow the actual construction of the garment.
When listing dress length, specify the exact starting point. For example, a measurement of 120 cm could be taken from the high shoulder point, neckline or waistline. Our pattern maker needs to use the same reference point when checking the sample against your measurement chart.
Make it clear whether the chart lists body measurements or finished garment measurements. Our pattern maker uses body measurements to assess the intended fit, while finished measurements show the actual dimensions of the garment, including the wearing ease.
If your collection will run from XS to XXL, let the factory know the intended size range and base size during development. The full grading chart can be completed later if necessary, but the sample size should be confirmed before pattern making starts.
At our pattern department, we review the measurements alongside the technical drawing. If the drawing shows a close-fitting waist but the chart allows considerable ease, we would rather clarify that difference before cutting the first sample than discover it during fitting.
3. Give the Factory Enough Information About Fabric and Lining
When a buyer suggests a fabric for a new dress, we check its weight, surface finish and drape alongside the fiber composition. This is particularly important with satin, where two fabrics with the same fiber content can look quite different. For jersey styles, we also check how well the fabric recovers after stretching, as poor recovery can affect the fit after wear.
If you have selected your material, include as much of the following information as possible:
- Fabric composition
- Fabric weight (GSM)
- Fabric width
- Color or Pantone reference
- Stretch and recovery
- Surface texture and finish
- Supplier reference or fabric code
If you have shortlisted a fabric, send us a physical swatch. We can check its thickness, stretch and recovery, then see how it falls when held or draped. This is particularly useful for lightweight chiffon, satin and stretch jersey, where the fabric’s behavior can affect the finished shape.
If you have not selected the final fabric, describe the result you want. For example, you may be looking for a lightweight chiffon with soft movement, a structured crepe for a fitted dress or a stretch jersey that follows the body without becoming transparent.
Please show the lining coverage separately in your tech pack. For a partially lined dress, mark exactly where the lining starts and ends. A mesh dress with a lined bodice and sheer skirt is a good example: without a clear boundary, the sample room may use a different lining coverage from the one you intended.
Apart from the coverage area, specify the lining material, color and stretch requirements. For stretch dresses, the lining should be checked against the main fabric so that the two layers move comfortably together without pulling or restricting the fit.
Other details worth recording include:
- Main fabric and lining composition
- Interlining requirements
- Zipper type and length
- Buttons, hooks and elastic
- Shoulder pads or bra cups
- Boning and other internal support
- Decorative trims and accessories
These materials can be listed in a BOM (Bill of Materials). If you are still comparing fabric or trim options, mark them as pending rather than leaving the section blank. This makes it clear which decisions are still open.
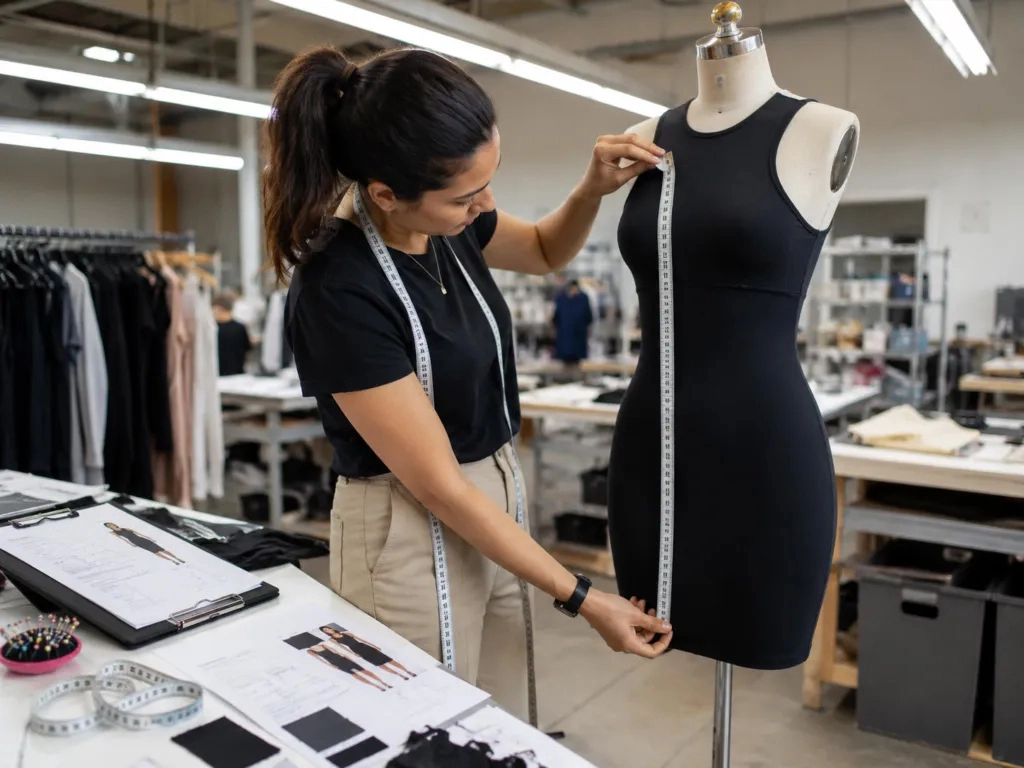
4. Explain the Construction Details That Affect the Finished Dress
You do not need to specify every sewing operation in the tech pack. The factory can recommend suitable methods during development, but any detail that affects the appearance or function of the dress should be clear. This includes seam positions, edge finishing and how decorative elements should be attached.
Your tech pack does not need to describe every sewing operation. Leave the factory room to recommend suitable sewing methods, but clearly record design-specific requirements such as seam positions, internal support, edge finishing and the way decorative details should be attached.
For a corset-style dress, record the number and position of boning channels, the panel seams and the internal cup construction. If the bodice needs to hold a particular shape, include a reference showing the intended structure rather than relying on the outer appearance of the dress.
Sleeve construction needs similar attention. For a bishop sleeve, specify the intended volume, where the gathers begin, the finished cuff width and sleeve length. A note that simply says “full sleeve” does not give the sample room enough information to reproduce the shape accurately.
For skirts, pay attention to:
- Pleat or gather placement
- Panel construction
- Slit position
- Hem width
- Layering and fabric overlap
- Asymmetric sections
For ruching, draping, lace appliqué, embroidery or beading, mark the exact placement on the drawing and include close-up references. For example, dense beading around the bodice may require additional handling time, while large lace appliqués need to be checked against the seam positions before cutting.
With a strapless dress, the bodice needs to stay in position without shoulder straps. If you have a specific fit or support requirement, include it in the tech pack. Otherwise, the factory can review the design and suggest a suitable internal construction during sampling.
5. Identify Colorways, Prints and Branding Requirements
When one dress style is developed in several colors, keep the construction and measurement specifications consistent unless a particular colorway requires a change. Give each version a clear color reference so the sample room can distinguish the options during development and bulk preparation.
For color approval, include the Pantone reference or the supplier’s fabric color code whenever one is available. If you have already approved a fabric swatch, attach it to the style information as well. A color shown on a laptop or phone screen is useful as a visual reference, but the production fabric should be checked against the agreed color standard.
Printed dresses need a little more information. Include the artwork file, print scale, placement and direction. If the print needs to match across panels or sit at a specific position on the bodice, mark that on the drawing.
For branding, identify the requirements that apply to the style:
- Main label and placement
- Size label
- Care label
- Hangtag
- Barcode
- Packaging and polybag requirements
Label position can affect construction, particularly around necklines and side seams. If your brand has a specific label attachment method, include a reference or written instruction.
If several dress styles use the same main label, care label or packaging, you can provide these details in a shared collection document. Keep any differences in label position, artwork or packaging under the relevant style number so the sample room can identify which specifications belong to each dress.
6. Know What Must Be Ready Before the First Sample
You can approach a clothing manufacturer before every production detail has been finalized. During the first review, we separate the information needed for pattern development from decisions that can be confirmed later. This helps avoid delaying sampling over details that do not affect the initial pattern.
For the first sample, the factory generally needs:
- A design sketch, technical drawing or clear reference photos
- Intended silhouette and fit
- Basic finished garment measurements
- Sample size
- Main fabric direction
- Important lining and construction requirements
- Any special design features that affect pattern development
Some decisions can wait until the first sample is reviewed. These may include choosing between two suitable trims, confirming label artwork or adjusting minor finishing details. Measurement changes can also be recorded after fitting, as long as the original sample requirements are clear.
Consider a buyer who is developing a satin evening dress but has not chosen between two suitable zipper options. That decision may be left open for the initial sample discussion. However, if the buyer has not decided whether the bodice is fitted or relaxed, the pattern cannot be developed reliably without further clarification.
Mark any open decisions clearly in the tech pack, including the options still under consideration. This gives the factory a clear record of what has been confirmed and what still needs your approval.
When contacting a factory, it is also useful to provide your estimated order quantity, size range, colorways, target price and expected delivery date. These details help the manufacturer assess the project rather than reviewing the design in isolation.
7. Check for Conflicting Information Before Sending Your Files
A tech pack can look complete and still contain problems. We sometimes receive several versions of the same dress tech pack, with different measurements or construction notes in each file. Before the pattern maker starts work, our team needs to identify the latest approved version and check which changes have been made.
Before sending your documents, check these areas.
Technical drawings versus measurements
Compare the waist shape in the drawing with the finished waist measurement in the chart. If one indicates a fitted shape and the other allows considerable ease, confirm which fit you want before the sample is cut.
Fabric versus construction
If your BOM lists stretch jersey but the measurement chart was prepared for a stable woven fabric, check the ease before sampling. The pattern may need different measurements for a stretch material, particularly around the bust, waist and hips.
Lining versus design drawings
A drawing may show a lined bodice, while the written notes suggest the entire dress is lined. Mark the actual coverage area so the sample room does not have to make an assumption.
Revisions across different files
If you update the measurement chart but leave the original technical drawing unchanged, the factory may work from an outdated version. Use the same style reference and revision date across the documents.
For a small collection, a version number, update date and short revision note are usually enough. When a measurement or construction detail changes, update the corresponding drawing or chart and remove outdated versions from the main working folder. This helps prevent the sample room from using an earlier specification.

8. What Happens After the Factory Receives Your Dress Tech Pack?
Once we receive your tech pack, the project moves through several development stages, starting with a review of the design information and material requirements. After the key specifications have been confirmed, the pattern maker can begin developing the garment.
Initial Technical Review
Our team compares the measurement chart with the technical drawings and checks whether the construction notes match the design. If a measurement is missing or two files show different specifications, we confirm the details with the buyer before moving forward.
Fabric and Trim Review
The selected materials are checked against the design requirements. If you have supplied fabric swatches or trim references, the team can assess whether they are suitable for the intended garment.
Pattern Development
The pattern maker develops the initial pattern based on the agreed measurements and construction details. Certain adjustments may be needed when the fabric’s drape, stretch or weight is considered.
First Sample Making
The sample room cuts and sews the dress using the approved development information. This gives you a physical garment to review rather than relying only on drawings and measurements.
Fit Review and Corrections
You review the sample and provide specific comments on the fit, measurements and appearance. Mark the areas that need adjustment and explain what you would like changed before the next sample is made.
When commenting on the sample, avoid writing only “make the waist tighter.” State the current waist measurement and the measurement you want after correction. A front or side photo with the adjustment area marked also helps our sample team locate the change without misinterpreting your comments.
PP Sample Approval
After the necessary changes have been made, the pre-production sample is reviewed and approved as the reference for bulk production. The final specifications should match the approved sample.
The development sequence is generally:
Tech Pack Review → Fabric Confirmation → Pattern Development → First Sample → Fit Corrections → PP Sample Approval → Bulk Production
The first sample gives you a chance to check the actual fit, fabric behavior and construction before approving the final version. If something is not right, specific comments and marked-up photos help the sample team understand exactly what needs to change.
9. Dress Tech Pack Checklist Before Sampling
Before sending your design to a manufacturer, check whether the following information is available.
Design and Fit
- Front and back technical drawings
- Close-up references for special design details
- Intended silhouette and fit
- Sample size and measurement chart
- Measurement units and tolerances
- Size range and grading information, if available
Fabric and Construction
- Main fabric composition and weight
- Fabric color or supplier reference
- Lining material and coverage
- Trims, closures and internal components
- Sewing, finishing and special construction requirements
- Print, embroidery or embellishment references
Project Information
- Colorways and quantities
- Target order quantity
- Expected delivery date
- Branding and label requirements
- Reference photos or physical samples
- Document revision number and date
Frequently Asked Questions
1. Can I start dress sampling if I only have a sketch and reference photos?
Yes. Many new brands begin with a sketch or a collection of reference images rather than a finished tech pack. You will still need to clarify the intended fit, key measurements and construction requirements. The factory can then assess what additional information is needed before pattern development.
2. Should I send my original design files or only a PDF?
A PDF is convenient for reviewing drawings and specifications, but editable files can be useful when measurements or artwork need updating. Keep one approved version as the main reference. If you send revised files, identify the changes so the sample room does not accidentally follow an earlier specification.
3. What if I want to change the design after the first sample is made?
You can request changes after reviewing the first sample. However, distinguish fit corrections from design changes. Shortening a hem is different from changing the neckline or adding a lining layer. Larger changes may require pattern adjustments, additional materials or another sample round.
4. Should I send a physical reference dress to the manufacturer?
A physical garment is useful when fit, fabric behavior or construction is difficult to communicate through photographs. It gives the pattern maker something tangible to examine. If you send one, mark which features should be followed and which should be changed for your own design.
5. What should I do if some tech pack details are not finalized?
You can still send your tech pack for an initial review. Mark undecided items as pending and explain which options you are considering. However, details affecting measurements, fit or construction should be discussed before pattern development. This allows the manufacturer to identify which parts of the project are ready for sampling.
Conclusion
Before sending your dress design for sampling, check that the measurements, fabric details and construction requirements are clear enough for the pattern maker to work from. You can leave some material or trim choices open, but make sure any undecided items are marked in the tech pack.
If you are preparing a new dress collection and need help reviewing the specifications before sampling, Xiuyu Apparel can discuss your design, fabric options and development requirements as an OEM, ODM and private label dress manufacturer.