

When you are developing a satin dress, a fabric that looks perfect on the swatch can behave very differently once it is cut and sewn. You may find puckered seams, rippling around the zipper, snags, needle marks, or pressing damage after production starts. Finding the source early matters because correcting a sewing or fabric problem after bulk production has started can mean reworking finished pieces or losing usable fabric.
Satin Dress Defects at a Glance
| DefectCommon Root CausesProduction Stage | ||
|---|---|---|
| Seam puckering | Thread tension, feeding, stitch density, fabric movement | Sewing |
| Zipper rippling | Uneven tension, zipper installation, seam construction | Sewing |
| Snagging | Rough handling, machine parts, sharp edges | Cutting / Sewing |
| Needle marks | Needle size, needle condition, repeated stitching | Sewing |
| Pressing marks | Heat, steam, pressure, unsuitable pressing method | Pressing |
| Uneven hems | Fabric movement, grain direction, bias stretch | Cutting / Finishing |
| Shade variation | Different fabric lots, dyeing, finishing | Fabric |
| Lining distortion | Different shrinkage or fabric movement | Sewing |
| Surface scratches | Handling or contact with rough surfaces | Fabric / Production |
| Packing creases | Folding pressure, insufficient final pressing | Finishing / Packing |
A defect that looks like a sewing problem is not always caused at the sewing machine. A wavy seam, for example, may come from sewing tension, but it can also become worse because the fabric itself is unstable. Before changing the machine setting, we normally check the fabric, seam construction, and feeding as well. Otherwise, the same problem can show up again later in production.
1. Seam Puckering
Seam puckering is one of the first problems you may notice on a satin dress. The seam does not lie flat. Instead, the fabric around the stitching looks slightly gathered, wavy, or pulled.
What causes seam puckering?
Thread tension is often the first thing to check, but it is not always where the problem starts.
We also check stitch density, fabric feeding, needle selection, seam construction, and how stable the satin is during sewing. Lightweight satin can make small sewing problems much more visible because its smooth surface reflects light across the seam.
A setting that works well on one satin may not work on another, even when both fabrics have similar GSM.
How should you check it?
The garment sample tells you much more than a loose fabric test.
We first check whether the puckering runs along the full seam or only appears in certain areas. If it becomes worse around a curved seam, gathered area, zipper, or point where several layers meet, the construction may be contributing to the problem.
Before bulk sewing, test the production fabric with the actual pattern and seam construction.
We normally avoid carrying sewing settings from one satin style directly into another. The fabric needs to prove that the setting works.
2. Zipper Rippling
A satin dress zipper can look straight on the sewing table and still develop waves once the garment is worn or hung.
This is particularly noticeable on fitted satin dresses because the surface reflects light. Even a small amount of distortion around the zipper can become obvious.
Why does a satin zipper ripple?
The usual checks are fabric tension, zipper installation, seam construction, and the amount of tension created by the garment fit.
The zipper can run perfectly well and still look wrong once it is sewn into satin.
Lining can also affect the result. If the lining and outer satin move differently, the zipper seam may pull after the garment is finished.

What should you check before bulk production?
You should test the zipper on the complete sample, not separately from the garment.
Use the intended satin, lining, zipper, seam allowance, and construction. Then check the dress while it is hanging and while it is being worn.
A mannequin check alone can be misleading. A fitted dress may look flat on the form but show tension when someone actually puts it on.
Before bulk cutting, we check the zipper on the finished sample and make sure the construction is stable enough to repeat in production.
3. Satin Snagging and Surface Damage
You may not notice a small snag when the satin is lying flat on the cutting table. Once the dress is finished, however, the pulled yarn or scratch can catch the light and become much more obvious.
Dark satin tends to make this problem even easier to see.
Where does snagging start?
Not every snag means the fabric was defective when it arrived.
A rough cutting table, sharp machine edge, damaged presser foot, needle area, scissors, or other equipment can catch the surface. Moving fabric across a rough surface can also create marks.
That is why the fabric needs checking before cutting, and the handling between cutting and sewing matters just as much.
If the fabric passes inspection but starts snagging repeatedly during sewing, we check the machine parts and handling process before deciding that the fabric itself is the problem.
4. Needle Marks
Small needle holes are easy to underestimate during sampling.
You may see almost nothing when the fabric is first sewn, but the marks can become more visible after pressing or under strong retail and photography lighting.
What causes needle damage?
We normally start with the needle size and condition, then look at how the fabric reacts after sewing.
A needle that performs well on one satin may leave visible marks on another. Repeated stitching in the same area can make the damage worse, particularly when a sample needs several corrections.
Pay particular attention to areas such as:
- Narrow straps
- Necklines
- Armholes
- Zipper seams
- Curved seams
- Areas requiring re-stitching
These areas are worth testing on the actual fabric before bulk sewing. A standard needle specification does not always tell you how a particular satin will react.
5. Pressing Marks and Shine
Pressing can improve the appearance of a satin dress, but the wrong pressing method can leave a problem that is difficult to remove.
You may see a shiny patch, flattened area, unwanted impression, or slight surface distortion after pressing.
Why does pressing damage happen?
Different satin fabrics can react quite differently when heat, steam, and pressure are applied.
Fiber content, finishing, weight, and surface construction all affect how satin reacts to pressing.
Before production, we check:
- Temperature
- Steam
- Pressure
- Pressing cloth
- Seam opening
- Final garment pressing
A flat fabric test is useful, but it does not always show what will happen on the finished dress. The finished garment may react differently around seams, darts, zippers, and areas containing several layers.
We prefer to make the pressing test on the actual garment construction before bulk production. The result is much easier to judge on the finished garment than on a flat piece of fabric.
6. Uneven Satin Dress Hems
An uneven hem does not always mean that the sewing operator measured incorrectly.
The problem can begin during fabric spreading and cutting, particularly with lightweight satin or bias-cut dresses.
Why can the hem change?
Satin can move during cutting. Bias-cut fabric can also stretch and settle after the garment is assembled.
A dress may measure correctly immediately after sewing and look different after hanging for a period of time.
For long or bias-cut satin dresses, we normally let the garment settle before making the final hem correction. The measurement taken straight after sewing is not always the measurement you will see later.
This matters particularly for long evening dresses. A small difference at the top of the hem can become much more noticeable around the full circumference.
7. Shade and Luster Variation
You may receive satin that matches the approved color name but still looks different from the original sample.
Sometimes the color is close, but the surface looks brighter, duller, or simply different from the approved sample.
What causes shade variation?
Fabric lots can differ because of dyeing and finishing conditions. The way satin reflects light can also make a small variation look larger than expected.
We normally keep a physical approved fabric reference with the production specifications so later fabric lots can be checked against the same standard.
When the bulk fabric arrives, compare it before cutting. Check it under more than one lighting condition if the color and surface appearance are important to the collection.
This is especially useful for repeat orders. A supplier may describe a replacement as the same color and composition, but the finished dress can still look different if the fabric construction or finishing has changed.
8. Lining Distortion
Sometimes the outer satin is not the problem.
You may have a good-looking satin shell but still find that the finished dress pulls, twists, or loses the intended drape because the lining behaves differently.
Why does this happen?
The outer satin and lining can have different shrinkage, weight, stretch, or movement.
A very fluid satin paired with a relatively firm lining may not fall in the same way as the approved sample. In a fitted dress, even a small difference between the two layers can create tension around the waist, zipper, armhole, or hem.
You should therefore approve the outer fabric and lining together.
The lining should not be treated as a separate decision after the satin has already been approved. The two fabrics work as one garment once they are sewn together.
9. Wrinkles and Packing Creases
Satin can arrive at the packing stage looking clean and still develop unwanted creases during folding and transportation.
You may notice pressure lines, deep folding marks, or shine differences after the garments have been packed for several days.
What should you check?
Packing needs to be considered together with the garment construction and fabric.
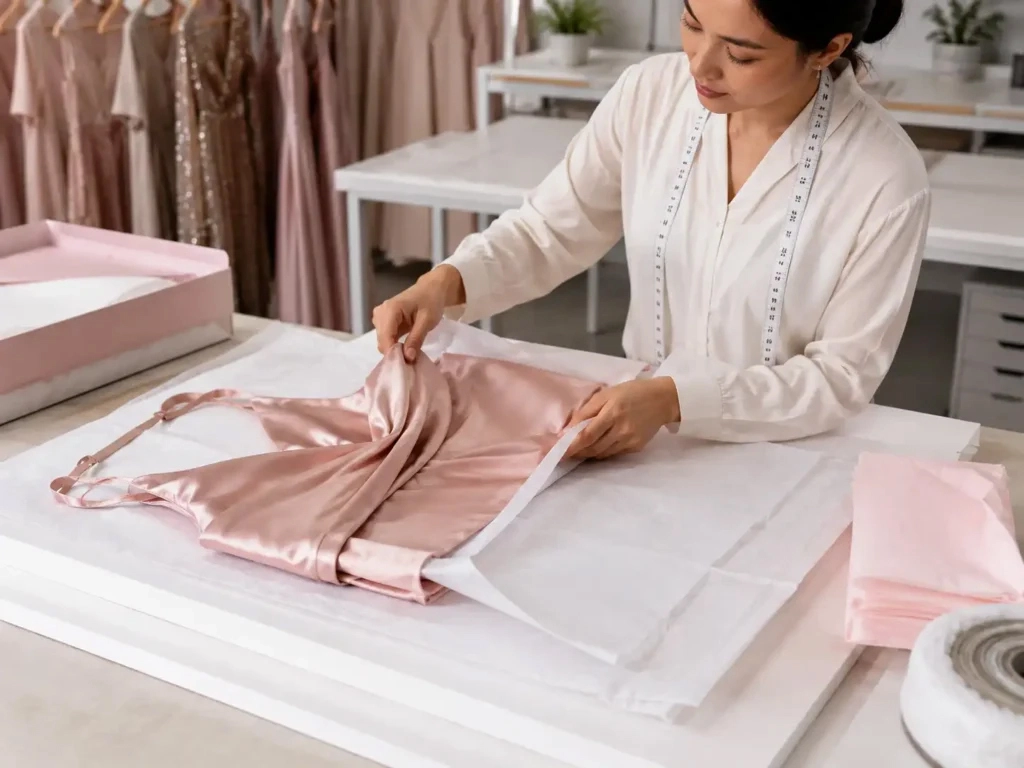
A simple satin dress may tolerate normal folding better than a long bias-cut dress with a fluid skirt. Garments with delicate surfaces may need tissue paper or additional protection between layers.
You should also check the garment after final pressing and again during packing preparation.
The goal is not simply to make the dress look good when it leaves the pressing table. It needs to remain presentable when the buyer opens the carton.
10. Why Satin Defects Often Appear After Sampling
A common problem is that the approved sample looks fine, but the same issue starts appearing once bulk sewing begins.
This does not necessarily mean the sample was poorly made.
The sample may have been produced slowly, with more attention from an experienced operator. Bulk production is different. You have longer sewing runs, more operators, larger fabric quantities, fabric-lot variation, and much more handling.
The approved sample needs to work as a production reference, not just a design reference.
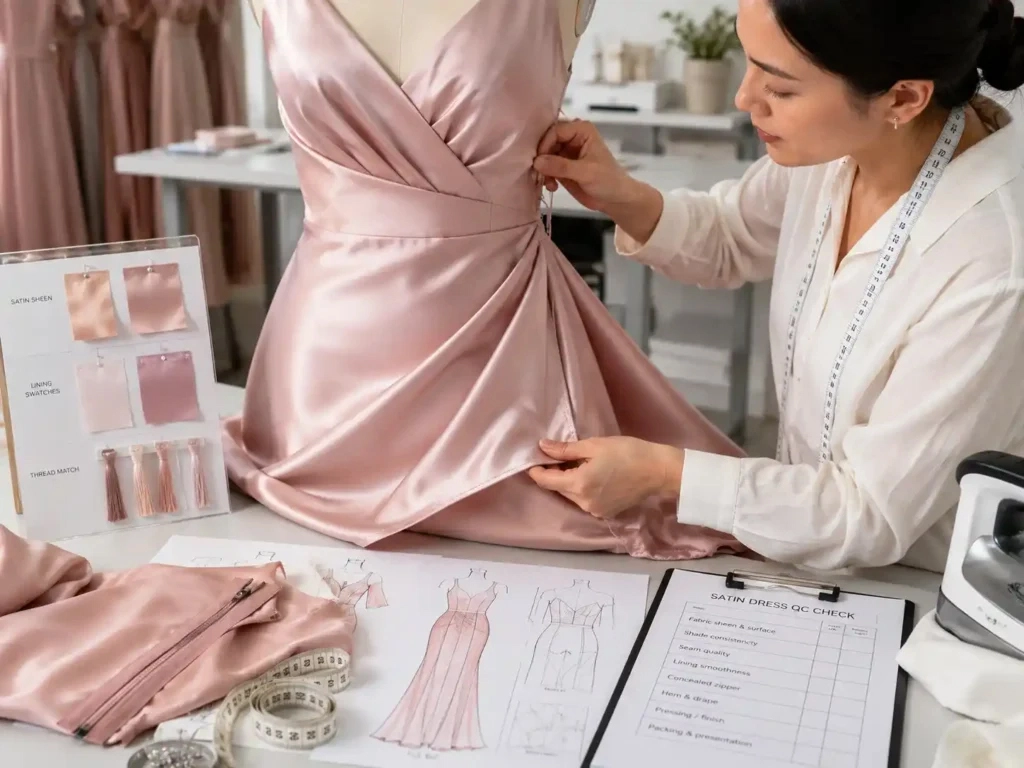
Before bulk production, you should confirm the actual fabric, construction, measurements, sewing method, pressing requirements, and quality points that matter most to the style.
How Can You Prevent Satin Dress Defects Before Bulk Production?
Most satin problems are easier to deal with before bulk cutting. These are the checks we would make before and during the first production run.
1. Check the Actual Bulk Fabric
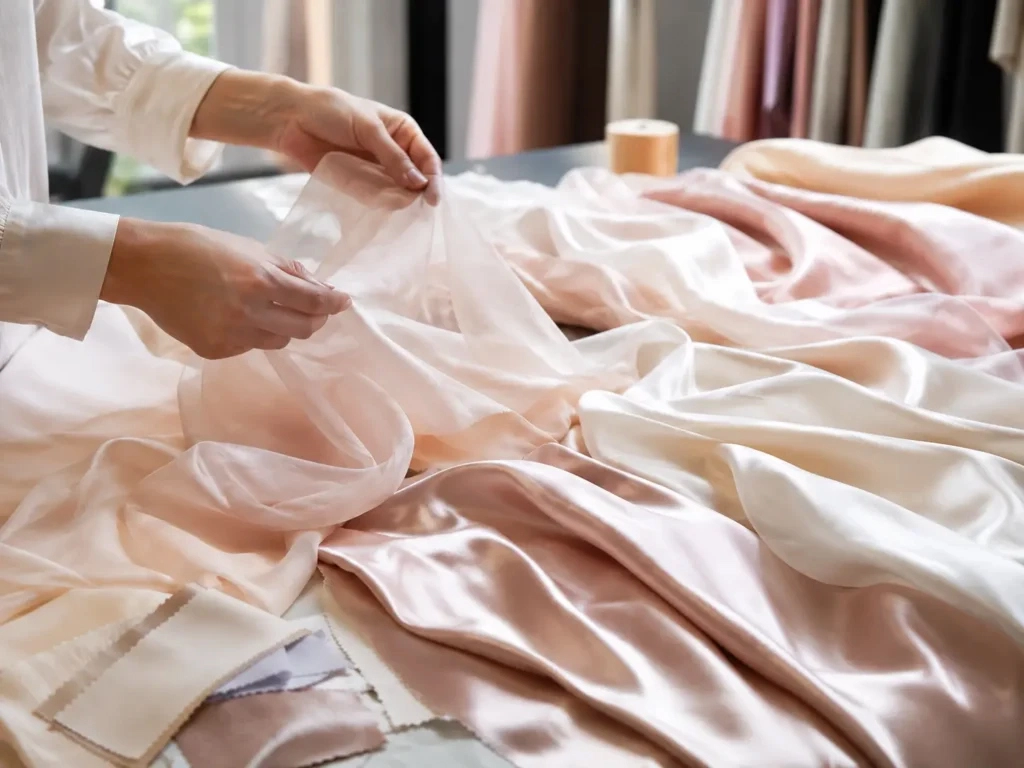
Compare the production fabric with the approved reference.
Check:
- GSM
- Usable width
- Color
- Surface
- Hand feel
- Shrinkage
- Drape
- Finishing
Two satins with similar specifications can still behave differently in production.
2. Test the Actual Construction
The sample should use the intended pattern, lining, zipper, interfacing, and other support materials.
A substitute satin can make the sample look fine while hiding problems that appear later with the bulk fabric.
3. Check the Garment After Pressing
Do not approve the sample immediately after sewing.
Check it again after pressing, first under normal lighting and then under stronger light. Pay attention to the seams, zipper, hem, surface, lining movement, and overall silhouette.
4. Inspect During Sewing
You should not wait until the entire order is finished.
Problems such as puckering, needle marks, seam distortion, and zipper installation issues are much easier to correct while the garments are still in production.
Inline inspection is particularly useful because the quality team can identify a recurring problem before hundreds of pieces are completed.
5. Keep the Approved Sample Available
The approved sample should remain available throughout bulk production.
Your QC team can compare finished garments against the sample, measurement chart, technical specifications, and agreed construction details instead of making subjective decisions about what looks acceptable.
What Should B2B Buyers Check Before Approving Satin Dresses?
You do not need to be a sewing technician to check whether a satin dress is production-ready. As a buyer working with a dress manufacturer, I would focus on four things: the fabric, the construction, the inspection process, and what happens when a problem is found during sampling.
You should, however, confirm that the manufacturer has considered the areas most likely to affect your finished product:
- Actual production fabric
- Fabric lot consistency
- Pattern and measurements
- Seam construction
- Zipper installation
- Lining compatibility
- Pressing method
- Surface protection
- Final inspection
- Packing method
You should also ask how defects found during sampling are recorded and carried into bulk production.
That answer can tell you a lot about how the factory controls quality.
Frequently Asked Questions
1. Can a satin dress sample look good but develop defects in bulk production?
Yes. A sample is usually made under much more controlled conditions than a production run. Once bulk sewing starts, fabric lots, operators, machine settings, and handling can all change. For a sensitive satin style, a production trial can reveal problems that were not obvious during sample development.
2. Should you change the fabric if satin keeps showing sewing problems?
Not necessarily. We would first check the sewing conditions and garment construction. Needle choice, thread tension, stitch density, feeding, and seam design can all affect the result. If those have been controlled and the fabric still gives repeated problems, then changing the fabric becomes a more reasonable option.
3. When should satin dress quality problems be checked?
Start with the fabric. Before cutting, check shrinkage, surface appearance, and how the fabric behaves. The construction should then be tested before bulk sewing. Once production is running, recurring defects are much cheaper to correct on the line than after the order reaches final inspection.
4. What should you do if bulk satin looks different from the approved sample?
Do not cut the full lot until the difference has been checked. Compare the bulk fabric with the approved reference for color, surface, width, GSM, hand feel, and finishing. If the fabric behaves differently as well, the buyer and factory should agree on the next step before production continues.
5. Is satin always difficult to manufacture?
No. The difficulty depends heavily on the fabric and garment construction. A stable medium-weight satin in a relatively simple design can be straightforward to produce. Lightweight satin, bias-cut panels, fitted areas, and delicate surface finishes usually require more control during cutting, sewing, and pressing.
Conclusion
Satin problems rarely start at one single step. A fabric can sew well in sampling and behave differently in bulk, or a good-looking dress can change after pressing and packing. Checking the fabric, construction, and finished garment early gives you a much better chance of catching the problem before it becomes expensive.
Explore More Dress Manufacturing Services
If you are developing a new dress and need support with fabric selection, internal construction, sampling, and bulk production, working with an experienced clothing manufacturer can help reduce unnecessary development changes.
At Xiuyu Apparel, we work with fashion brands, startups, designers, and private label companies from sample development through bulk production.
Get a Clothing Manufacturing Quote Based on Your Design
If you already have a garment design, send us the product photo, tech pack, or reference sample together with your target quantity.
As a dress manufacturer, we can review the fabric, lining, construction, trims, workmanship, and finishing requirements and prepare a quotation based on the actual garment rather than a general price range.